Create your developer portfolio page powered by Google sheets

In today’s day and age, it’s imperative to have a personal website in order to maintain a prominent online presence. The most basic version of this would be a page that links to several other sites, like Linktree. But in this case, we gain the flexibility of maintaining it ourselves, which in turn adds to our tech expertise.
The choice
Once we decide to embark on that path, the next logical question is: what would be the tech stack for the site?
The choice for a frontend is straightforward. Since we are looking for a modern framework with possibly server-side rendering support, Next.js would be the obvious choice.
Then comes the choice for the backend. As it would be a fairly simple site, it does not make sense for the solution to have a complex database. But also, we would not want to keep it so tightly coupled with the codebase that we store it in a JSON file in the file system. We need a middle ground. And that is where a not-so-well-known DB solution could be leveraged.
That solution is using Google sheets as a database. I know it sounds weird if you are hearing about it for the first time but think about it. A sheet is a structured set of data organized into rows and columns. The columns can be thought of as being exactly the same as the columns of a DB and the rows can be thought of as the actual data that needs to be stored.
Wouldn’t it be awesome that whenever we needed to modify the details of our site, we just head to the sheet and add/modify one of the rows and save it which then magically reflects on our site? That is what we are going to achieve today.
The setup
Frontend
The frontend setup is as easy as creating a new Next.js repo which is done using the create-next-app command. Here’s how that works:
- Navigate to a folder where you wish to create the project.
- Run the following command
npx create-next-app portfolio-with-sheetsAnd Next.js would take care of the rest.
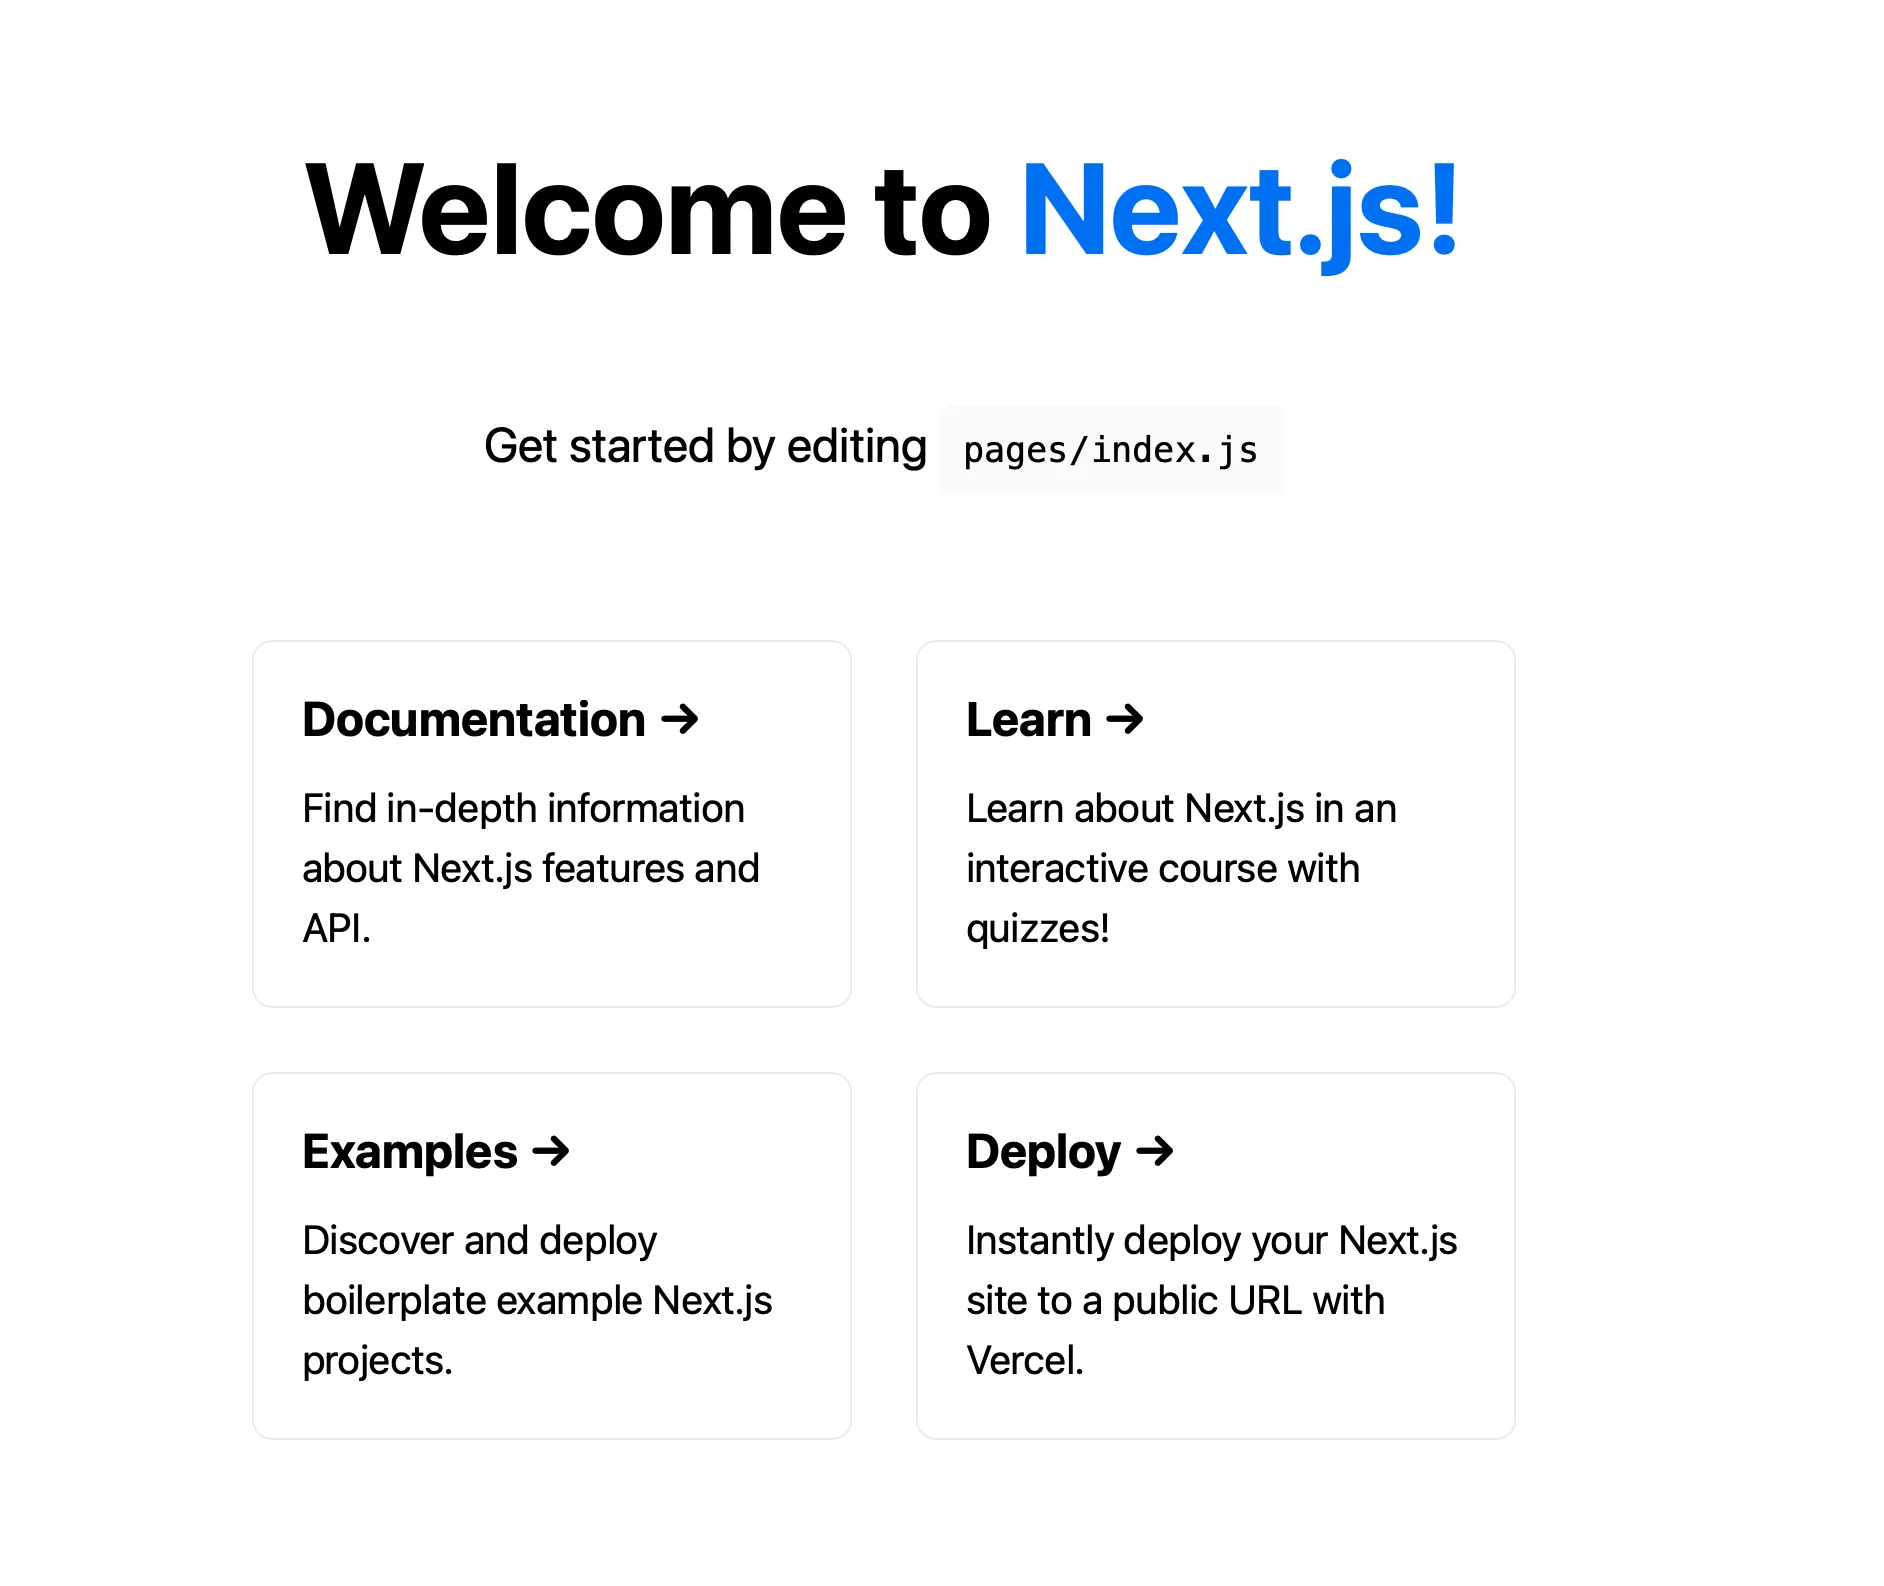
After the script has completed running, there would be a new folder created with the name portfolio-with-sheets. Navigate into it and start the application to see the welcome screen.
cd portfolio-with-sheets
yarn dev
This brings up the familiar start page for Next.js projects.
Backend
As we decided that the backend is going to be a Google Sheet, it is obvious that we need to create a new one. But there is one more aspect to it: How would the Next.js app communicate with the sheet?
That is where an important utility comes into the picture. That is Sheet Best. It would help communicate with our google sheet via REST APIs. This means we can perform well-known REST operations like GET, PUT, POST, and communicate with our sheets database. Sounds amazing right? Let’s set that up.
Create your sheet
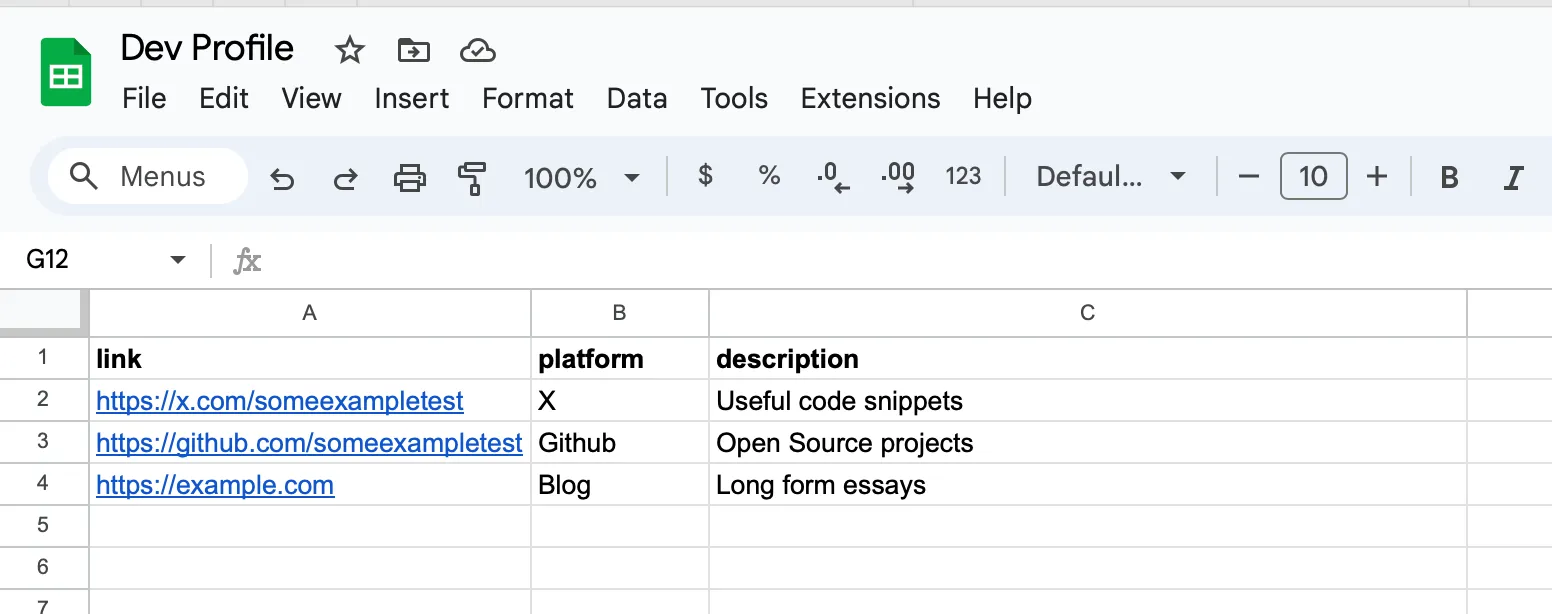
Go to the Chrome browser address bar and type sheets.new to generate a new sheet. The first row will be used as metadata so provide the column names in the first row. Insert some data in the second row. My sheet currently looks like this:

We can add more links later
Linking to sheets.best
Next, head over to Sheet Best and create an account. You will reach this screen.

Click on the + Connection button
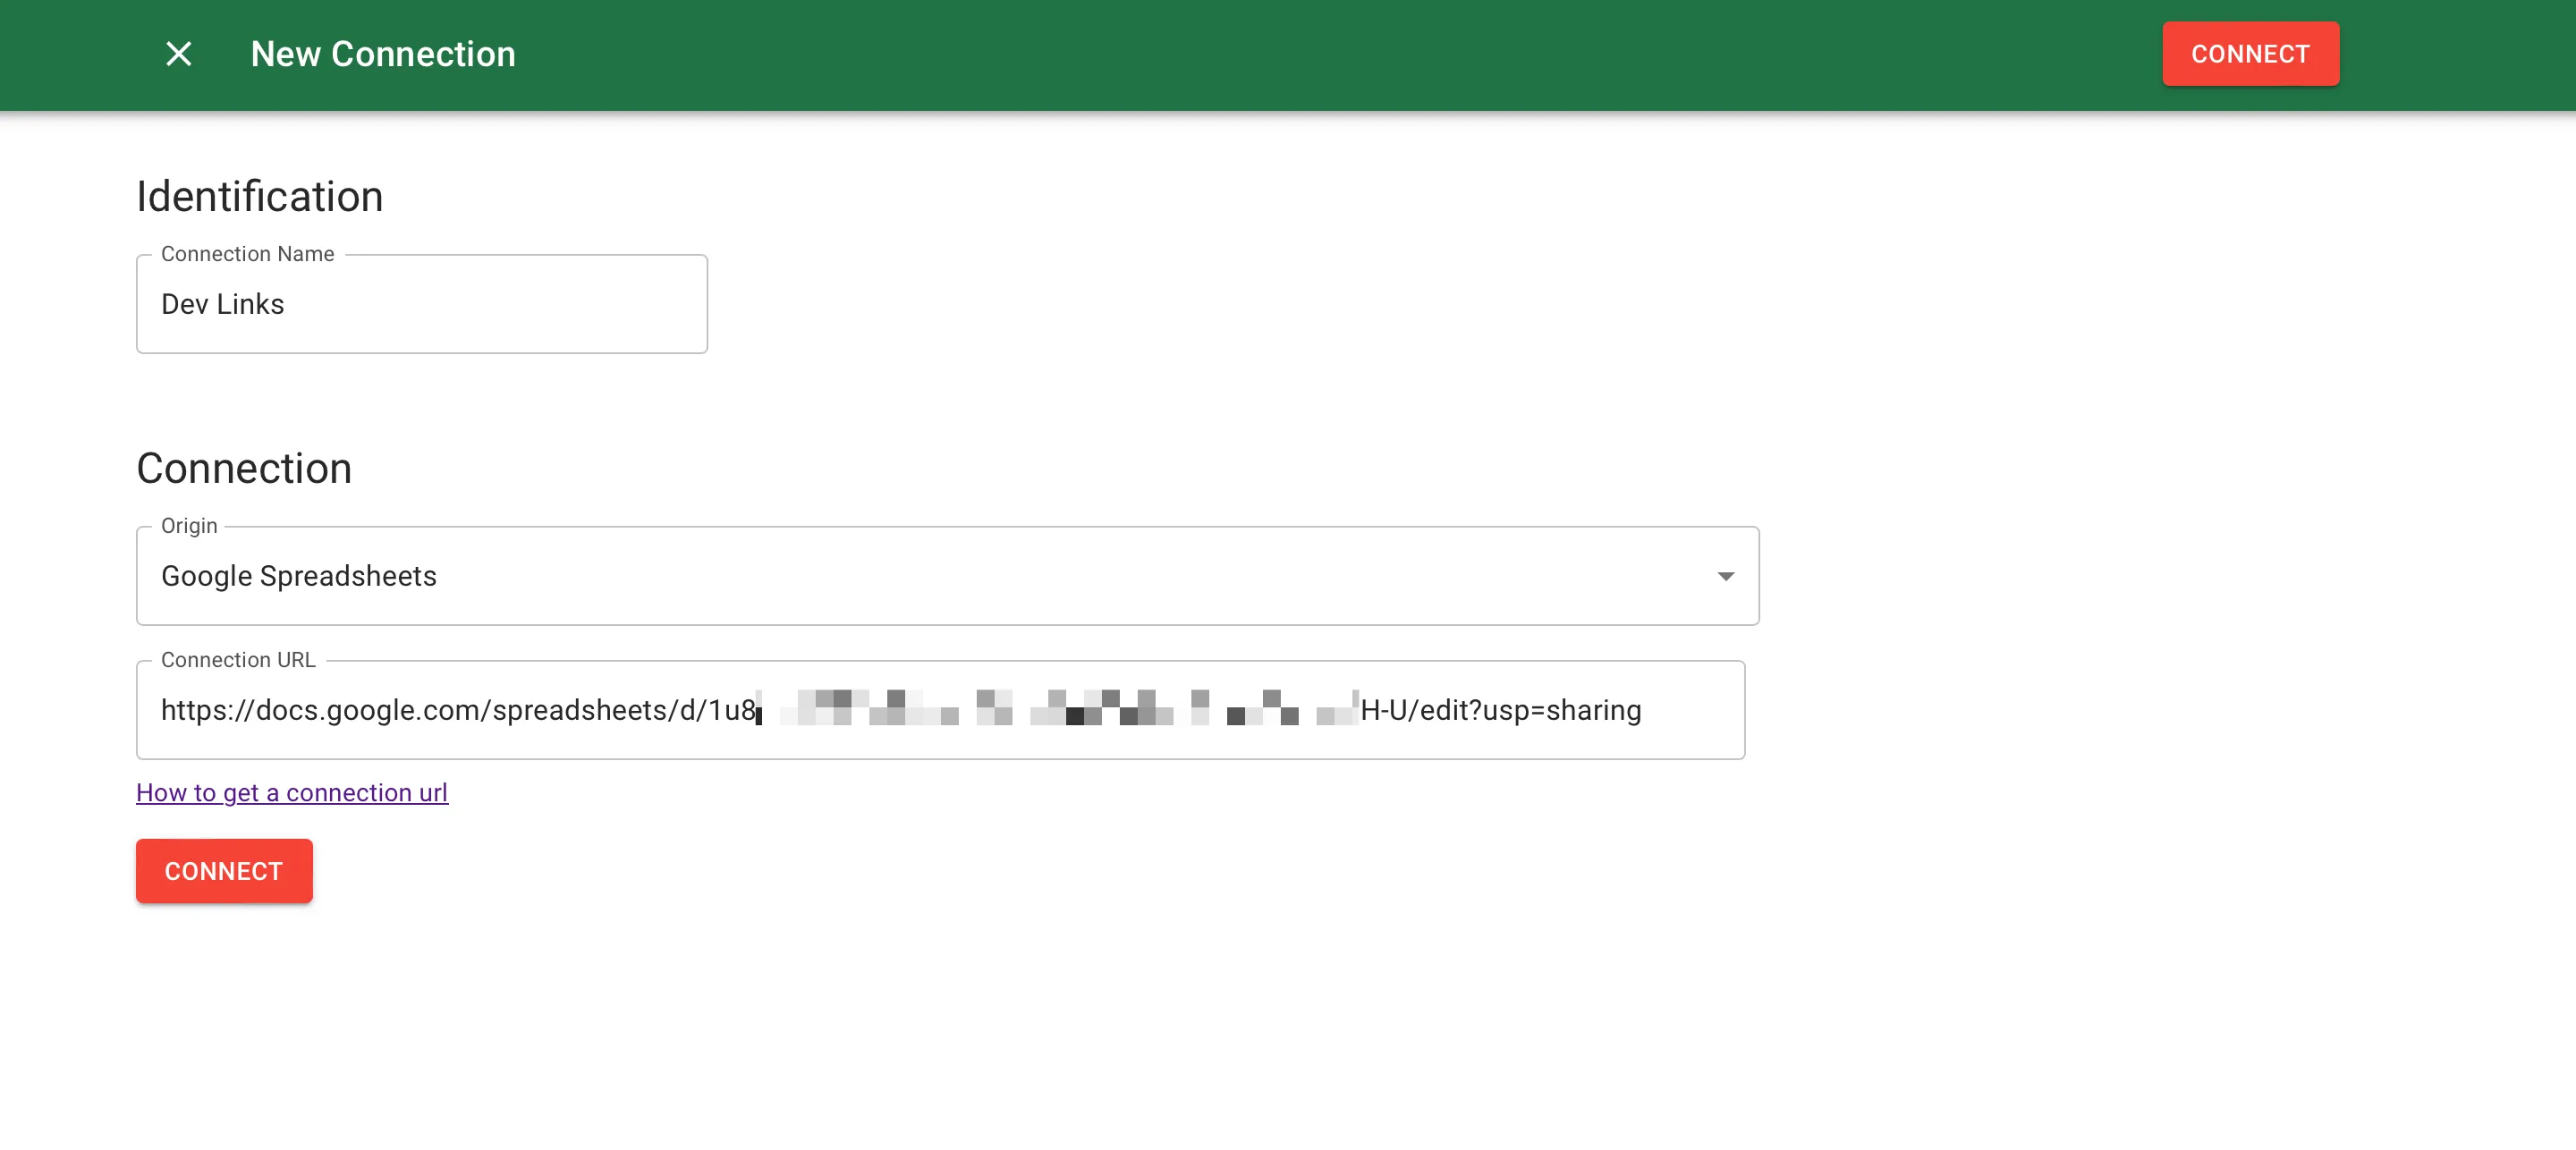
In the connection link, paste the link of the google sheet that was created in the previous step. Make sure to change the settings to Anyone on the internet with this link can view else it will not work.
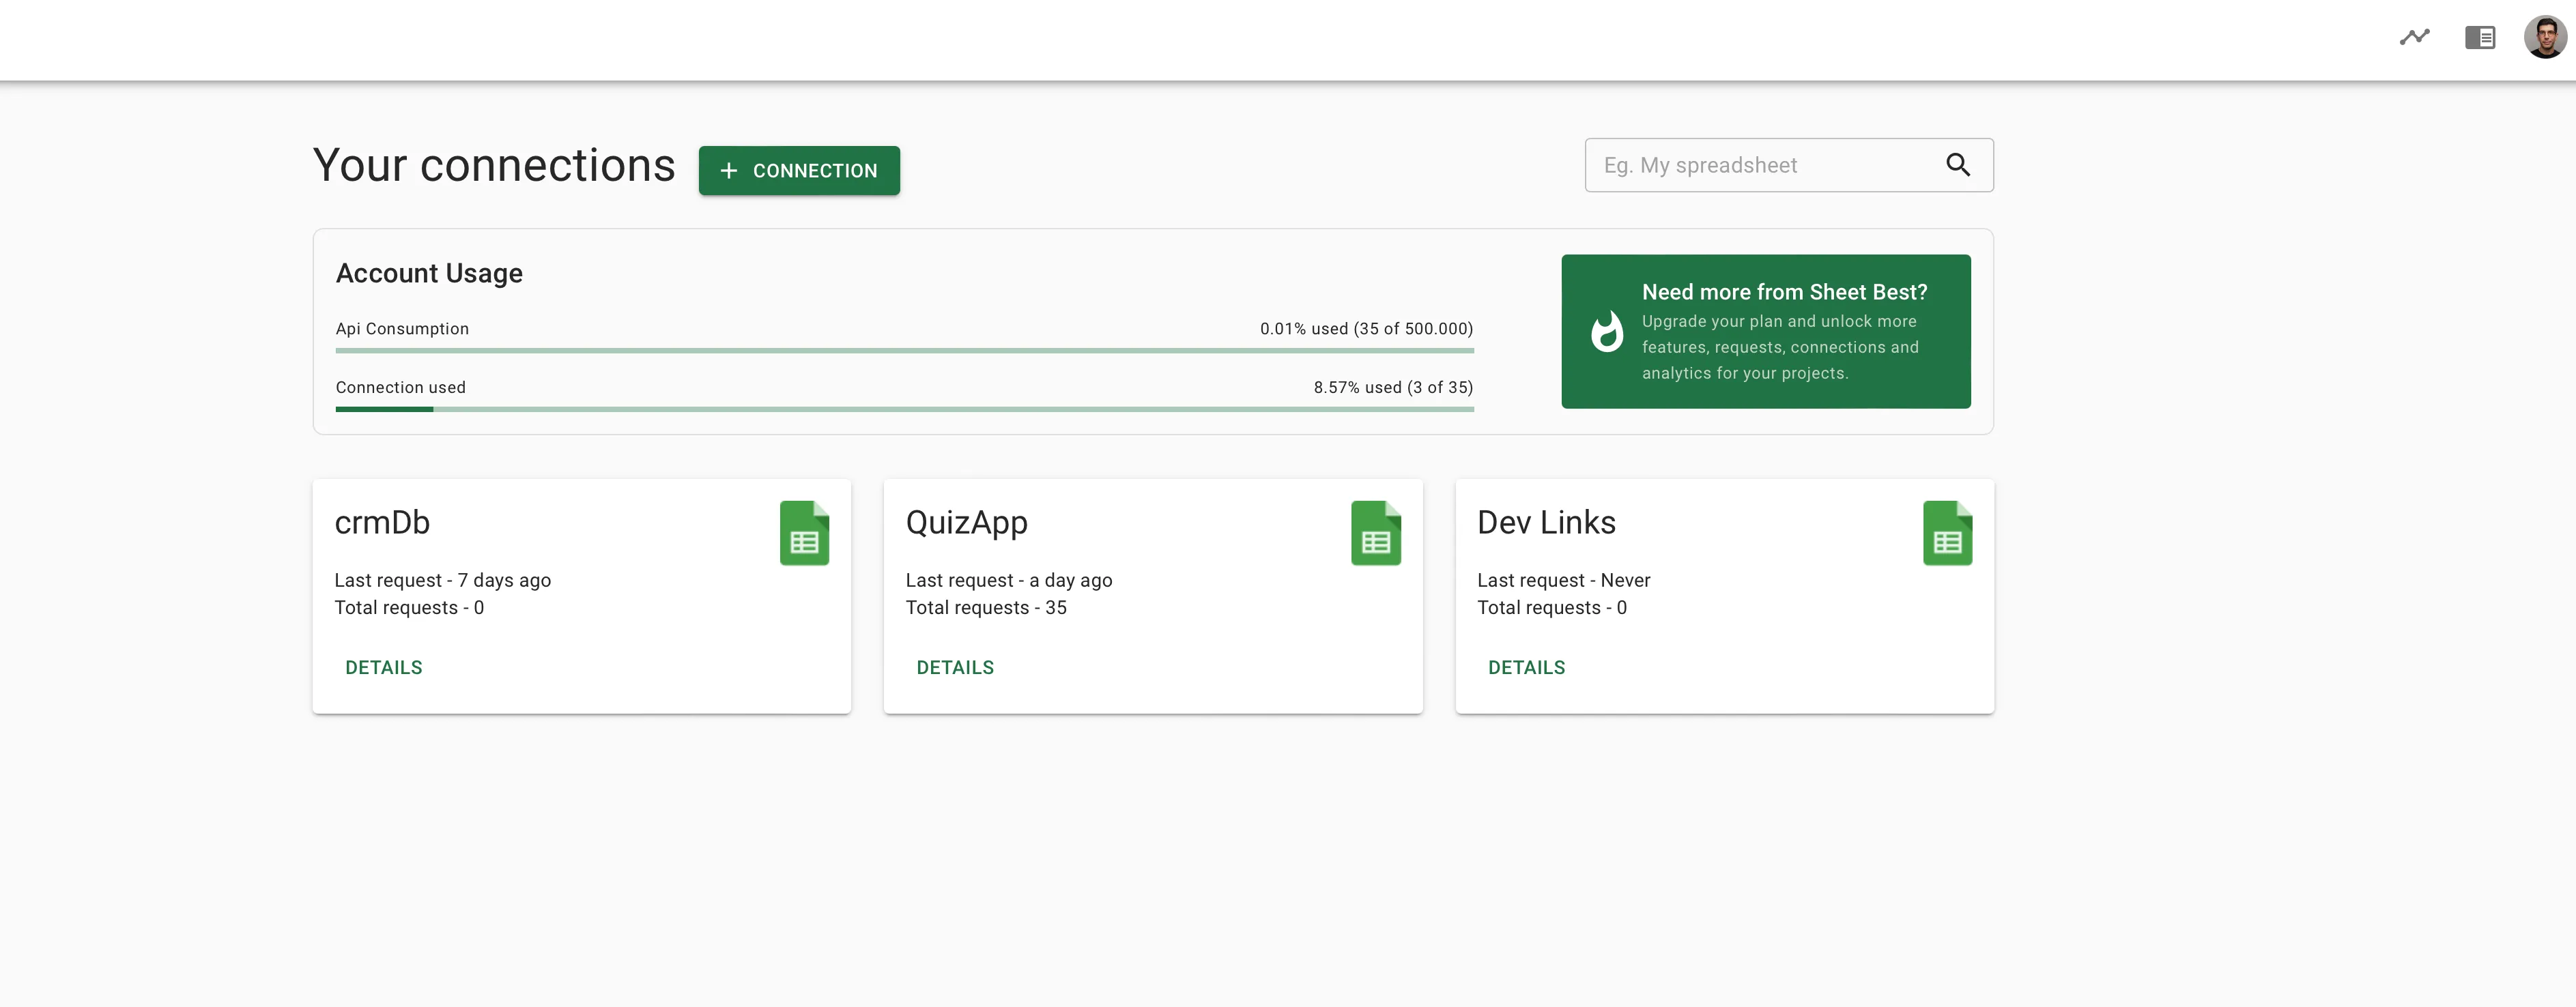
Once the connection is added, we reach this screen.
Testing the link
In order to test the API for the sheet that we linked just now, click on the DETAILS button and copy the connection URL. Paste it in the browser address bar and you should be able to see the JSON response of the details that we configured in the sheet earlier.
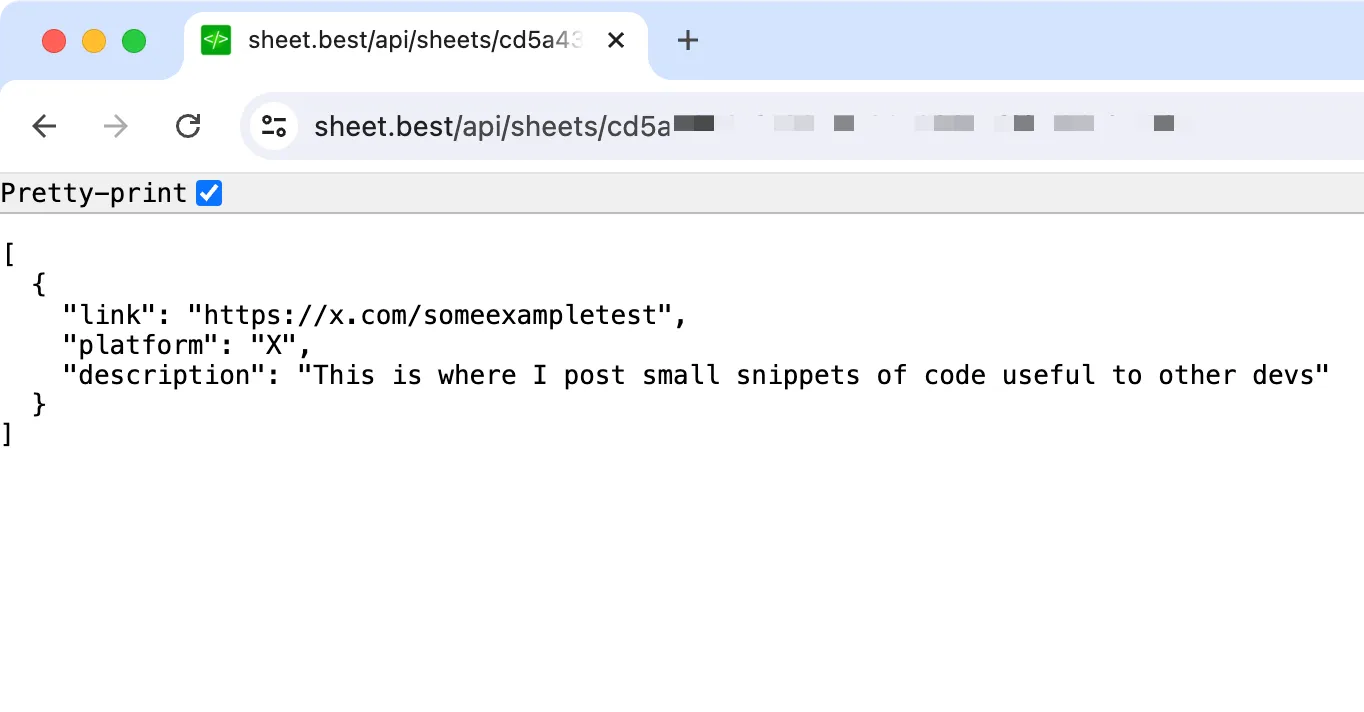
With that in place, the backend is ready. Now let us connect it to the frontend and build some nice UI.
UI library
Before integrating the API with the UI, let us install Chakra which is the UI library that we would be using for our portfolio. Here is the command for that:
yarn add @chakra-ui/react@^1 @emotion/react@^11 @emotion/styled@^11 framer-motion@^4After that installs, we need to go to pages/_app.js and wrap the root with ChakraProvider so that it looks like this
import { ChakraProvider } from "@chakra-ui/react";
import '../styles/globals.css';

function MyApp({ Component, pageProps }) {
  return (
    <ChakraProvider>
      <Component {...pageProps} />
    </ChakraProvider>
  )
}

export default MyApp
And now we’re all set to use Chakra UI in our project.
We will rewrite the code in the pages/index.js using Chakra components so that it becomes responsive. We replace the h1 tag with the Heading component, a tag with the Link component and div with the Flex component, etc. This is what the code looks like after replacing all the elements with Chakra components:
export default function Home() {
return (
<div>
<Head>
<title>Developer portfolio</title>
<meta name="description" content="developer portfolio" />
<link rel="icon" href="/favicon.ico" />
</Head>
<main className={styles.main}>
<Heading size="2xl" mb={6}>
Peter <Link href="https://nextjs.org" color="blue.500">Parker</Link>
</Heading>
<Text px="10%" textAlign="center">
Hi There! Welcome to my little place on the internet. Here, you will find links to other sites where I am active.
</Text>
<Flex flexWrap="wrap" alignItems="center" justifyContent="center" maxW="800" mt={10}>
<Box as="a" p={4} m={4} href="/" borderWidth={1} rounded="lg" flexBasis={['auto', "50%"]}>
<Heading as="h3" size="md" mb="2">Twitter →</Heading>
<Text fontSize="lg">This is where I post small snippets of code useful to other devs</Text>
</Box>
</Flex>
</main>
<footer className={styles.footer}>
Created with 🖤 by @kokaneka
</footer>
</div>
)
}Notice how the information about Twitter is hardcoded. That is what will be coming from the sheets once we integrate it into the app in the next step.
API integration
We will now try to get hold of the information in the Google sheet inside of our Next.js page. For that, we will be using the getServerSideProps() method so that the page gets rendered on the server-side and we get benefits such as performance boost and higher SEO scores. We add the method to the same file, index.js and whatever we return from that file will be passed as props to the component while rendering it (all on the server-side).
export async function getServerSideProps() {
  const res = await fetch(`/api/sheets/YOUR_CONNECTION_ID`);
  const data = await res.json()

  return {
    props: {
      data
    }
  }
}
Notice that we just need to make a fetch() call to the Sheet Best URL that we tested earlier and pass on the result JSON as props to the component.
Once that is done, we need to iterate over all the items in the data prop and show them on the UI. That done, let’s write the code for iterating
<Flex flexWrap="wrap" alignItems="center" justifyContent="center" maxW="800" mt={10}>
{data.map(d=> (
<Box as="a" p={4} m={4} href={d.link} borderWidth={1} rounded="lg" flexBasis={['auto', "50%"]}>
<Heading as="h3" size="md" mb="2">{d.platform} →</Heading>
<Text fontSize="lg">{d.description}</Text>
</Box>
))}
</Flex>And with that last bit, we’re done. We now have a fully functional personal dev page that lists all our social media links powered by a Google sheets backend!
Let’s add a few more links and information to the sheet
And now, we test it out
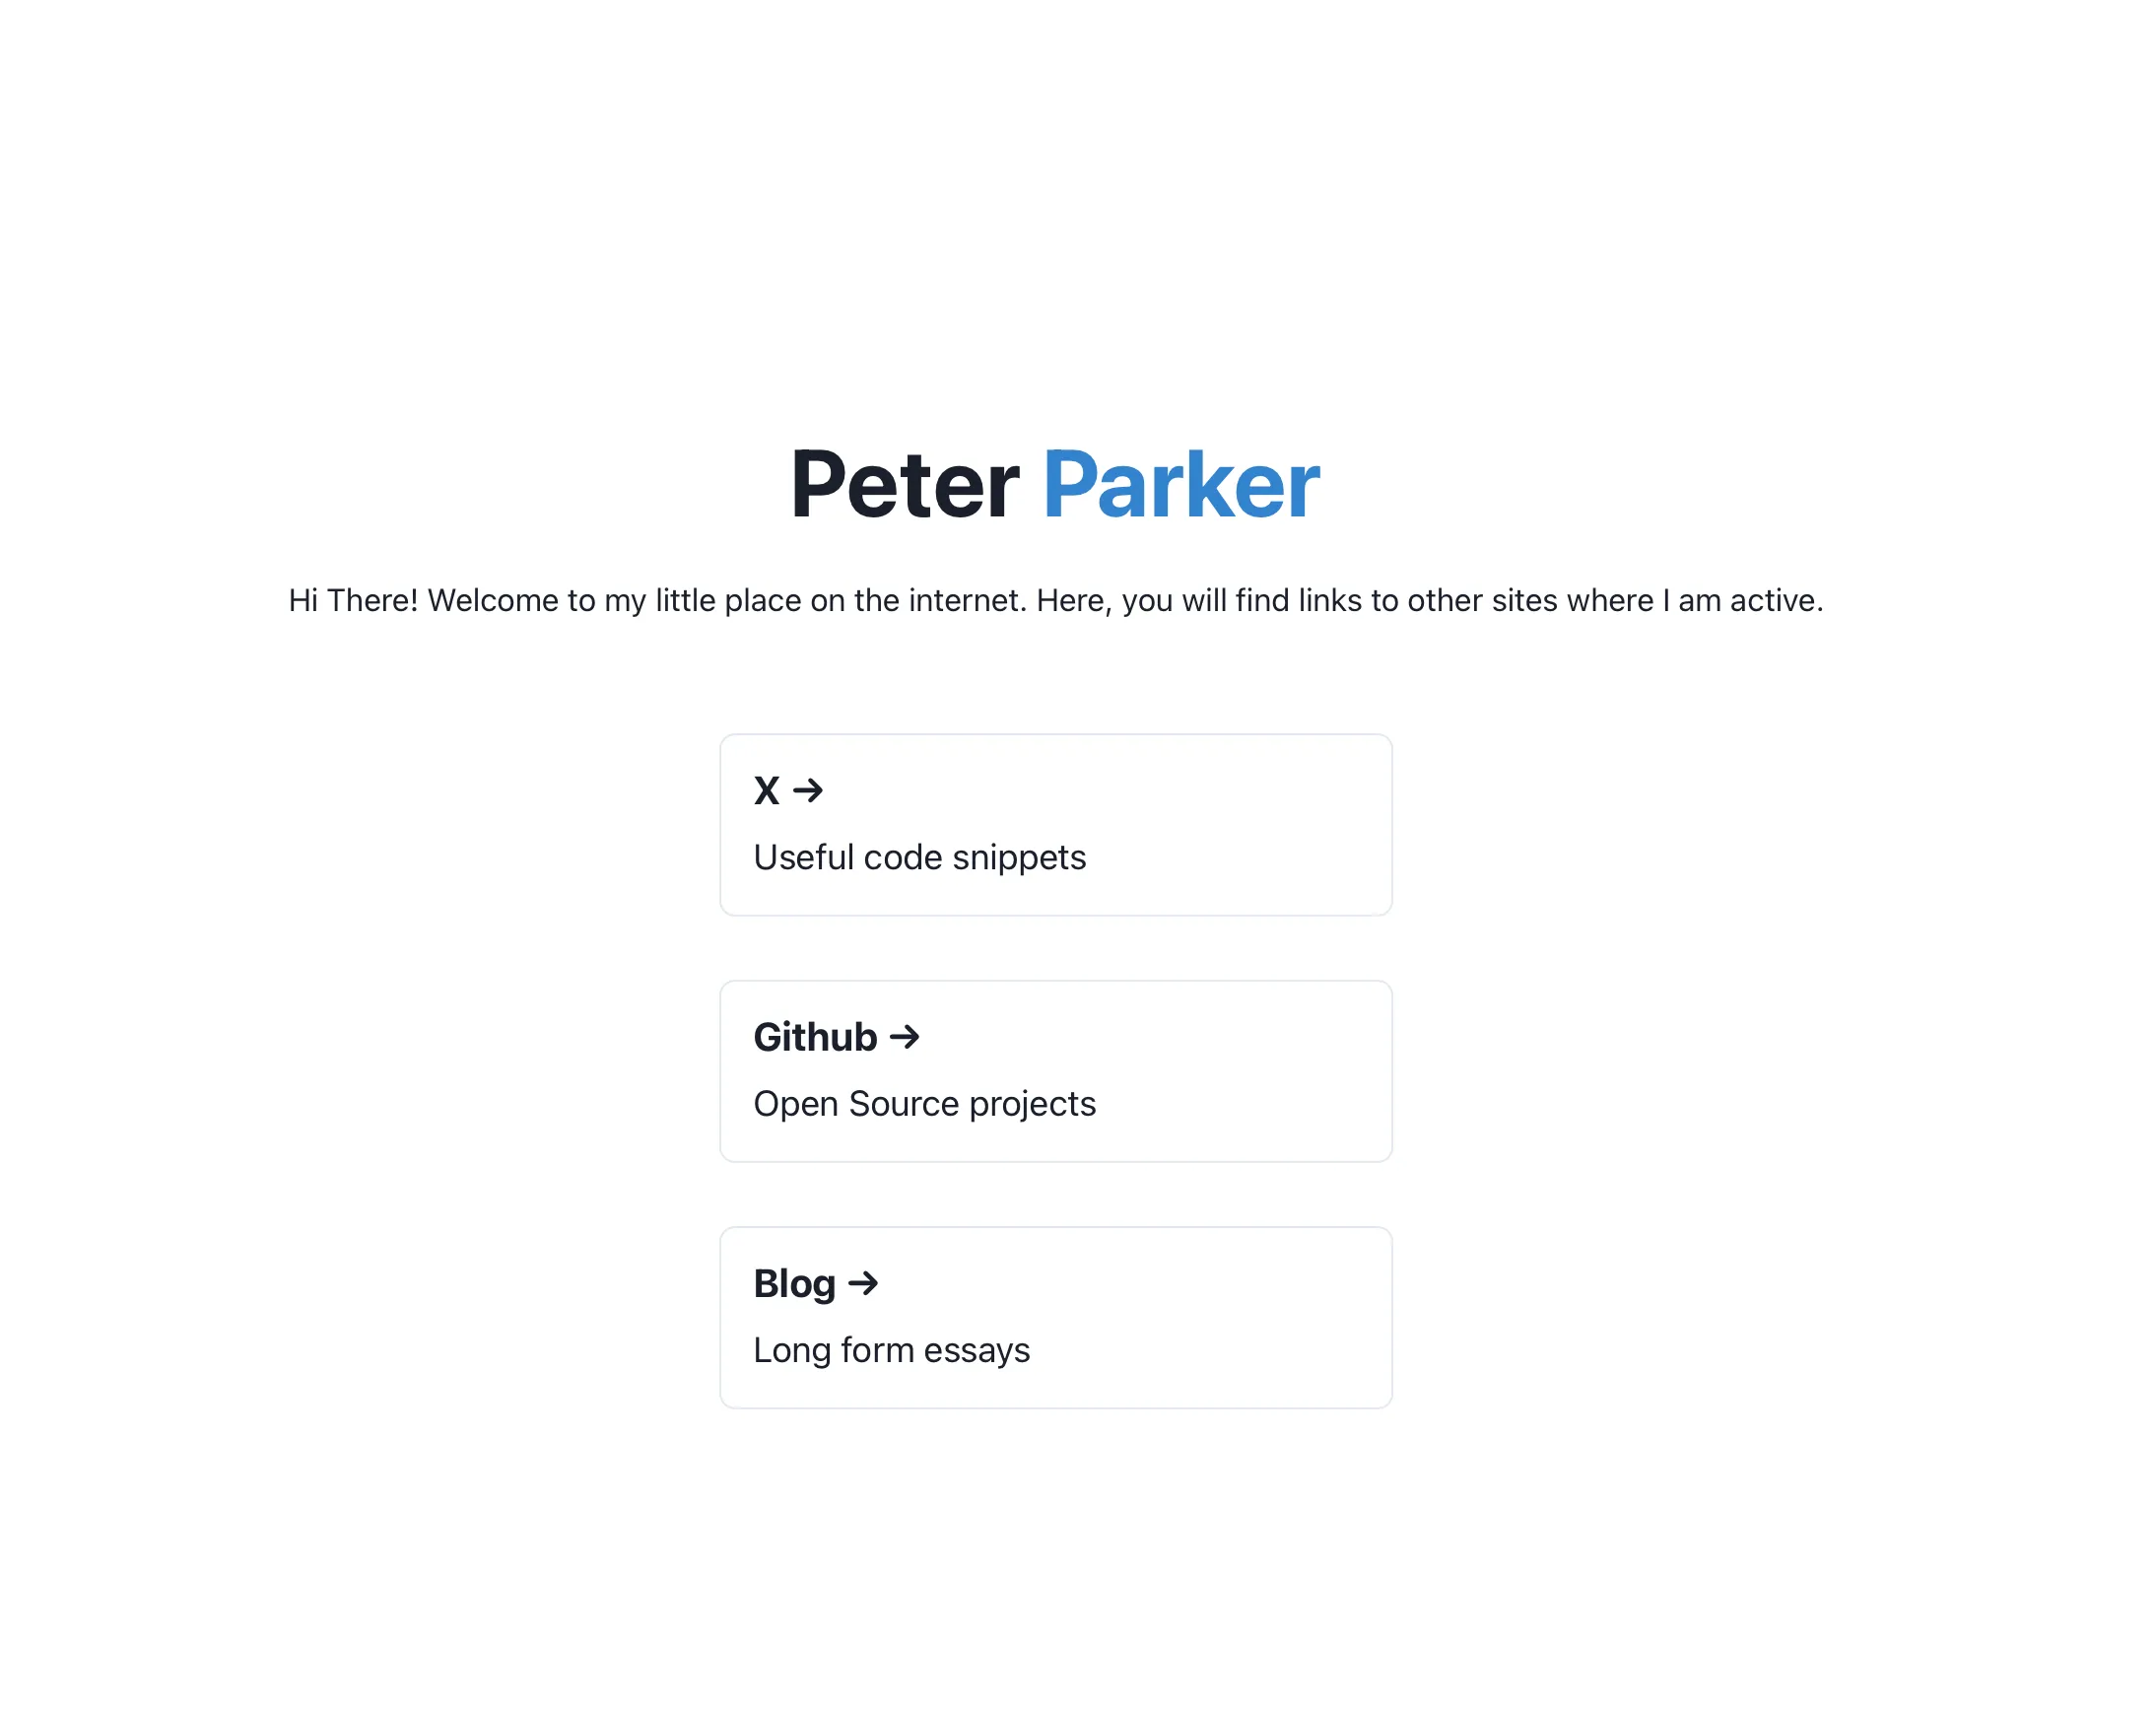
And thanks to Chakra UI, it is 100 percent compatible with mobile devices!
Spicing it up!
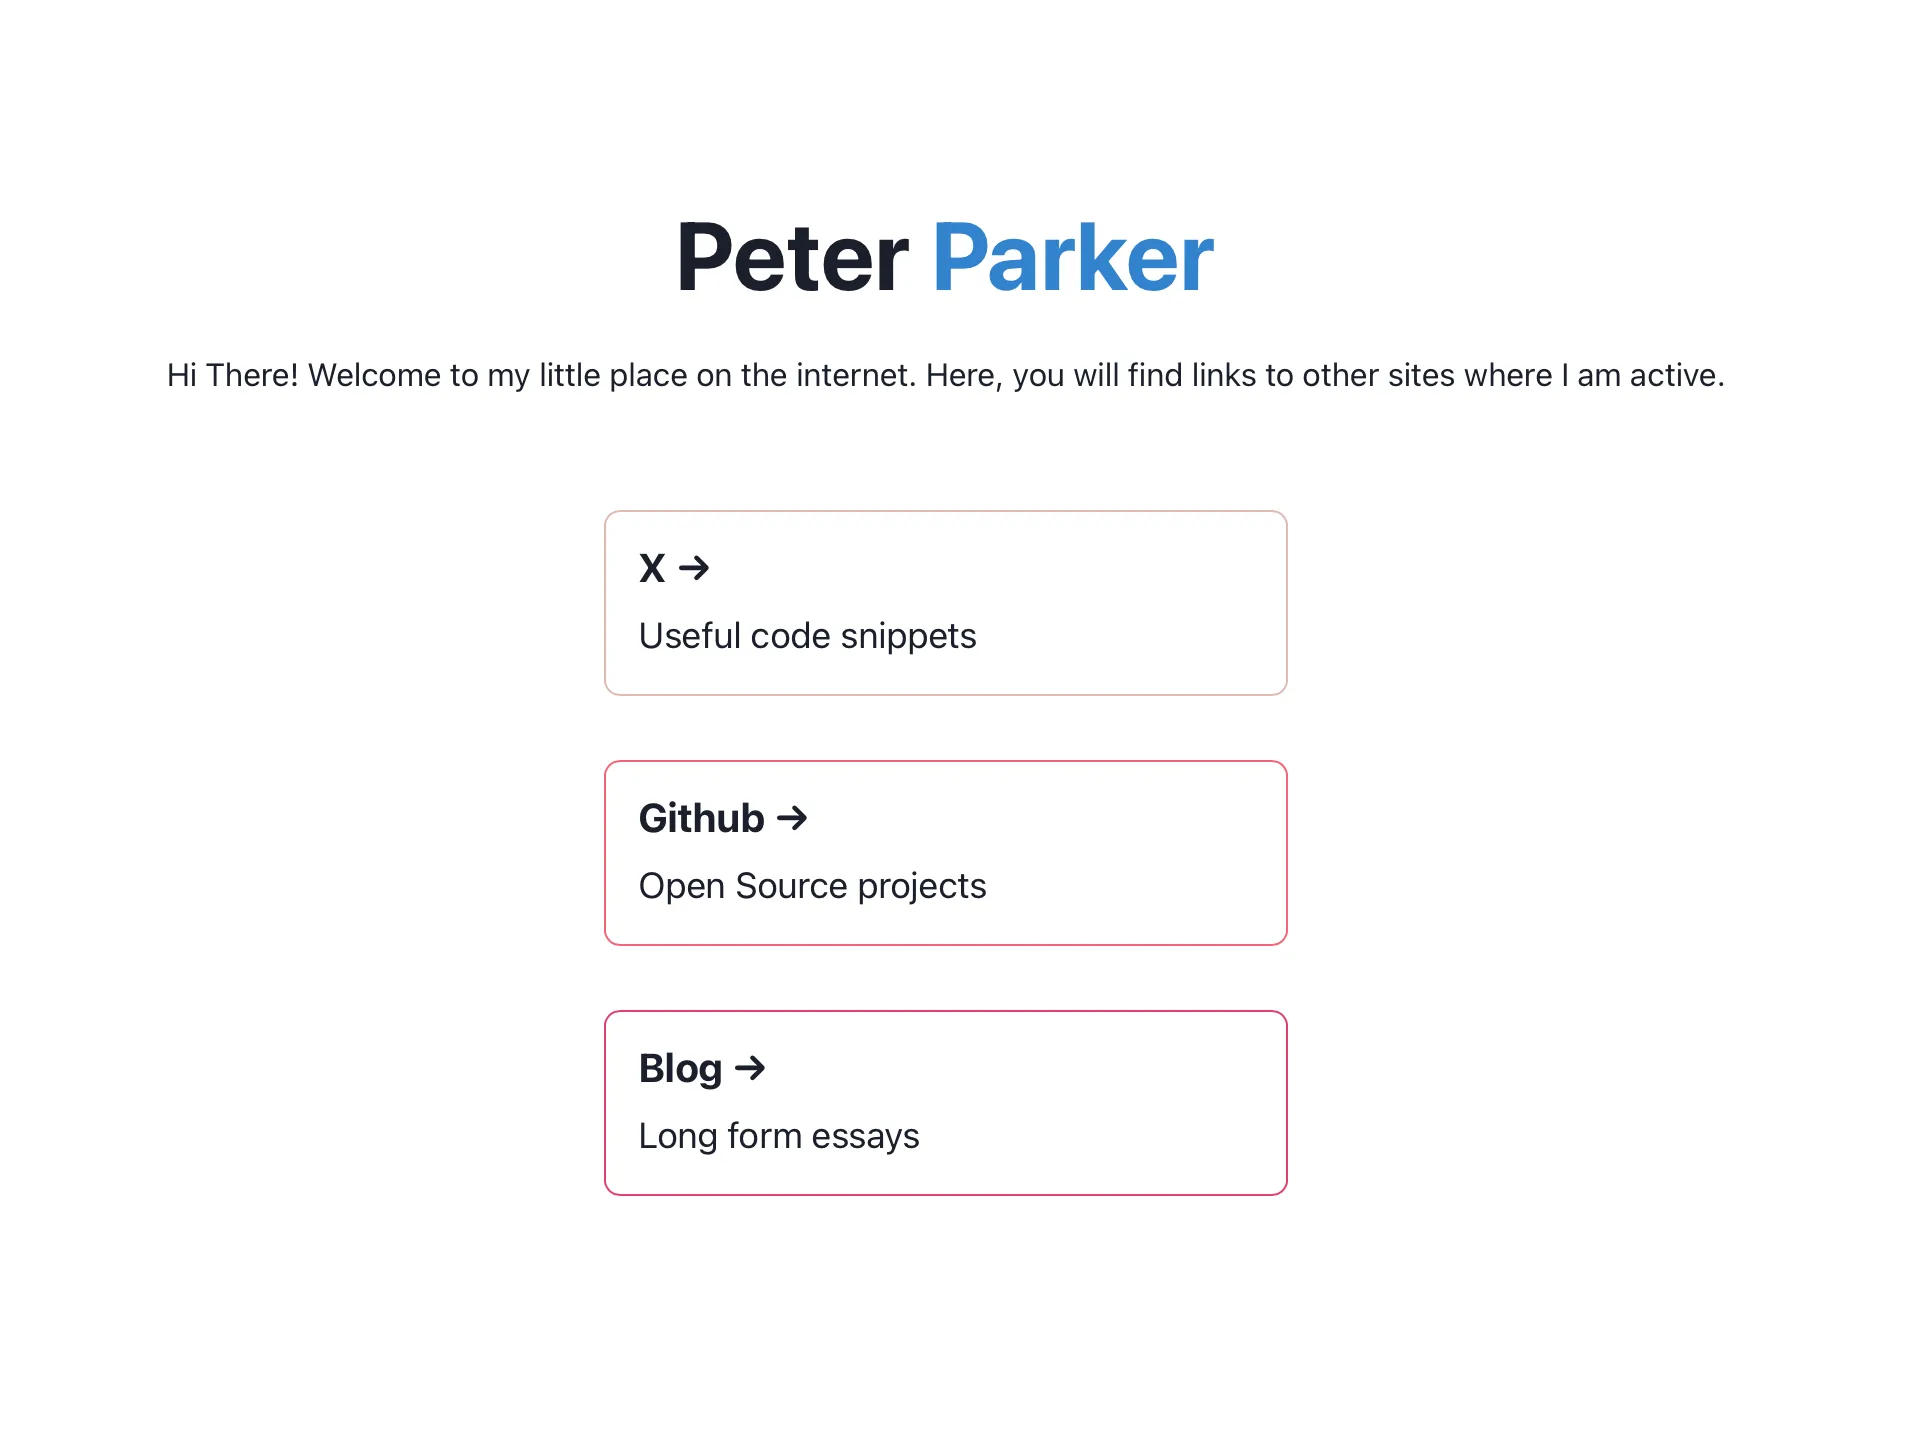
Adding fields to our “database” is really simple. Let’s say we want to give these boxes specific colored borders. How would we proceed? It’s easier than you think.
Just add a new column to the sheet called color and fill the values with your favorite colors. Like so:

Then set the borderColor property in Box to the one that is read from the sheet and you’re done. Here’s the relevant snippet:
<Box as="a" p={4} m={4} href={d.link} borderWidth={1} rounded="lg" borderColor={d.color} flexBasis={['auto', "50%"]}>And here’s how it looks
Feel free to explore the code in this repo.
Conclusion
You can deploy this site that we just developed for free by following the instructions on vercel.com. What we accomplished today would take not more than 30 mins to implement and that just goes to show the simplicity of the solution that we implemented. If you are looking for a database solution for simple use cases like these, definitely give sheets.best a try.