Build a Quiz App Powered by Google Sheets
While creating a list of applications that are simple to code, a Quiz app is one that makes it near the top of that list. It is a beginner-friendly app whose functionality everyone is aware of which makes it less intimidating to get started with.
Also, there is a fair bit of effort involved in rendering the question, providing feedback when an answer is chosen, and also moving between the questions. Thus, in today’s article, we would be building a full-fledged Quiz application. The best part is that we would not need to set up any backend as we would be powered using a simple Google sheet. Sounds interesting? Let’s begin.
The stack
The frontend framework that we would be using for the application would be Next.js. It is a clear choice because it is a modern, React-based framework with important features out of the box like server-side rendering, image optimization, and file-system-based routing to name a few.
Also, for the UI components, we would be using Chakra-UI which provides beautiful-looking react components and the ability to apply CSS properties via component props.
Finally, coming to the backend, we want something flexible so that adding more questions to our application is as frictionless as possible. Well, what could be more flexible than maintaining a Google sheet with the questions/options/answers and getting the app rendered based on that?
That is exactly what we are going to accomplish in this tutorial and we would be using Sheet Best in order to establish communication between the app and the said sheets backend. By the end of the tutorial, we would be able to add a row to our sheet, refresh the app and see a new question getting added!
The setup
Frontend
The frontend setup is as easy as creating a new Next.js repo which is done using the create-next-app command. Here’s how that works:
- Navigate to a folder where you wish to create the project.
- Run the following command
npx create-next-app quizwithsheetsAnd Next.js would take care of the rest.
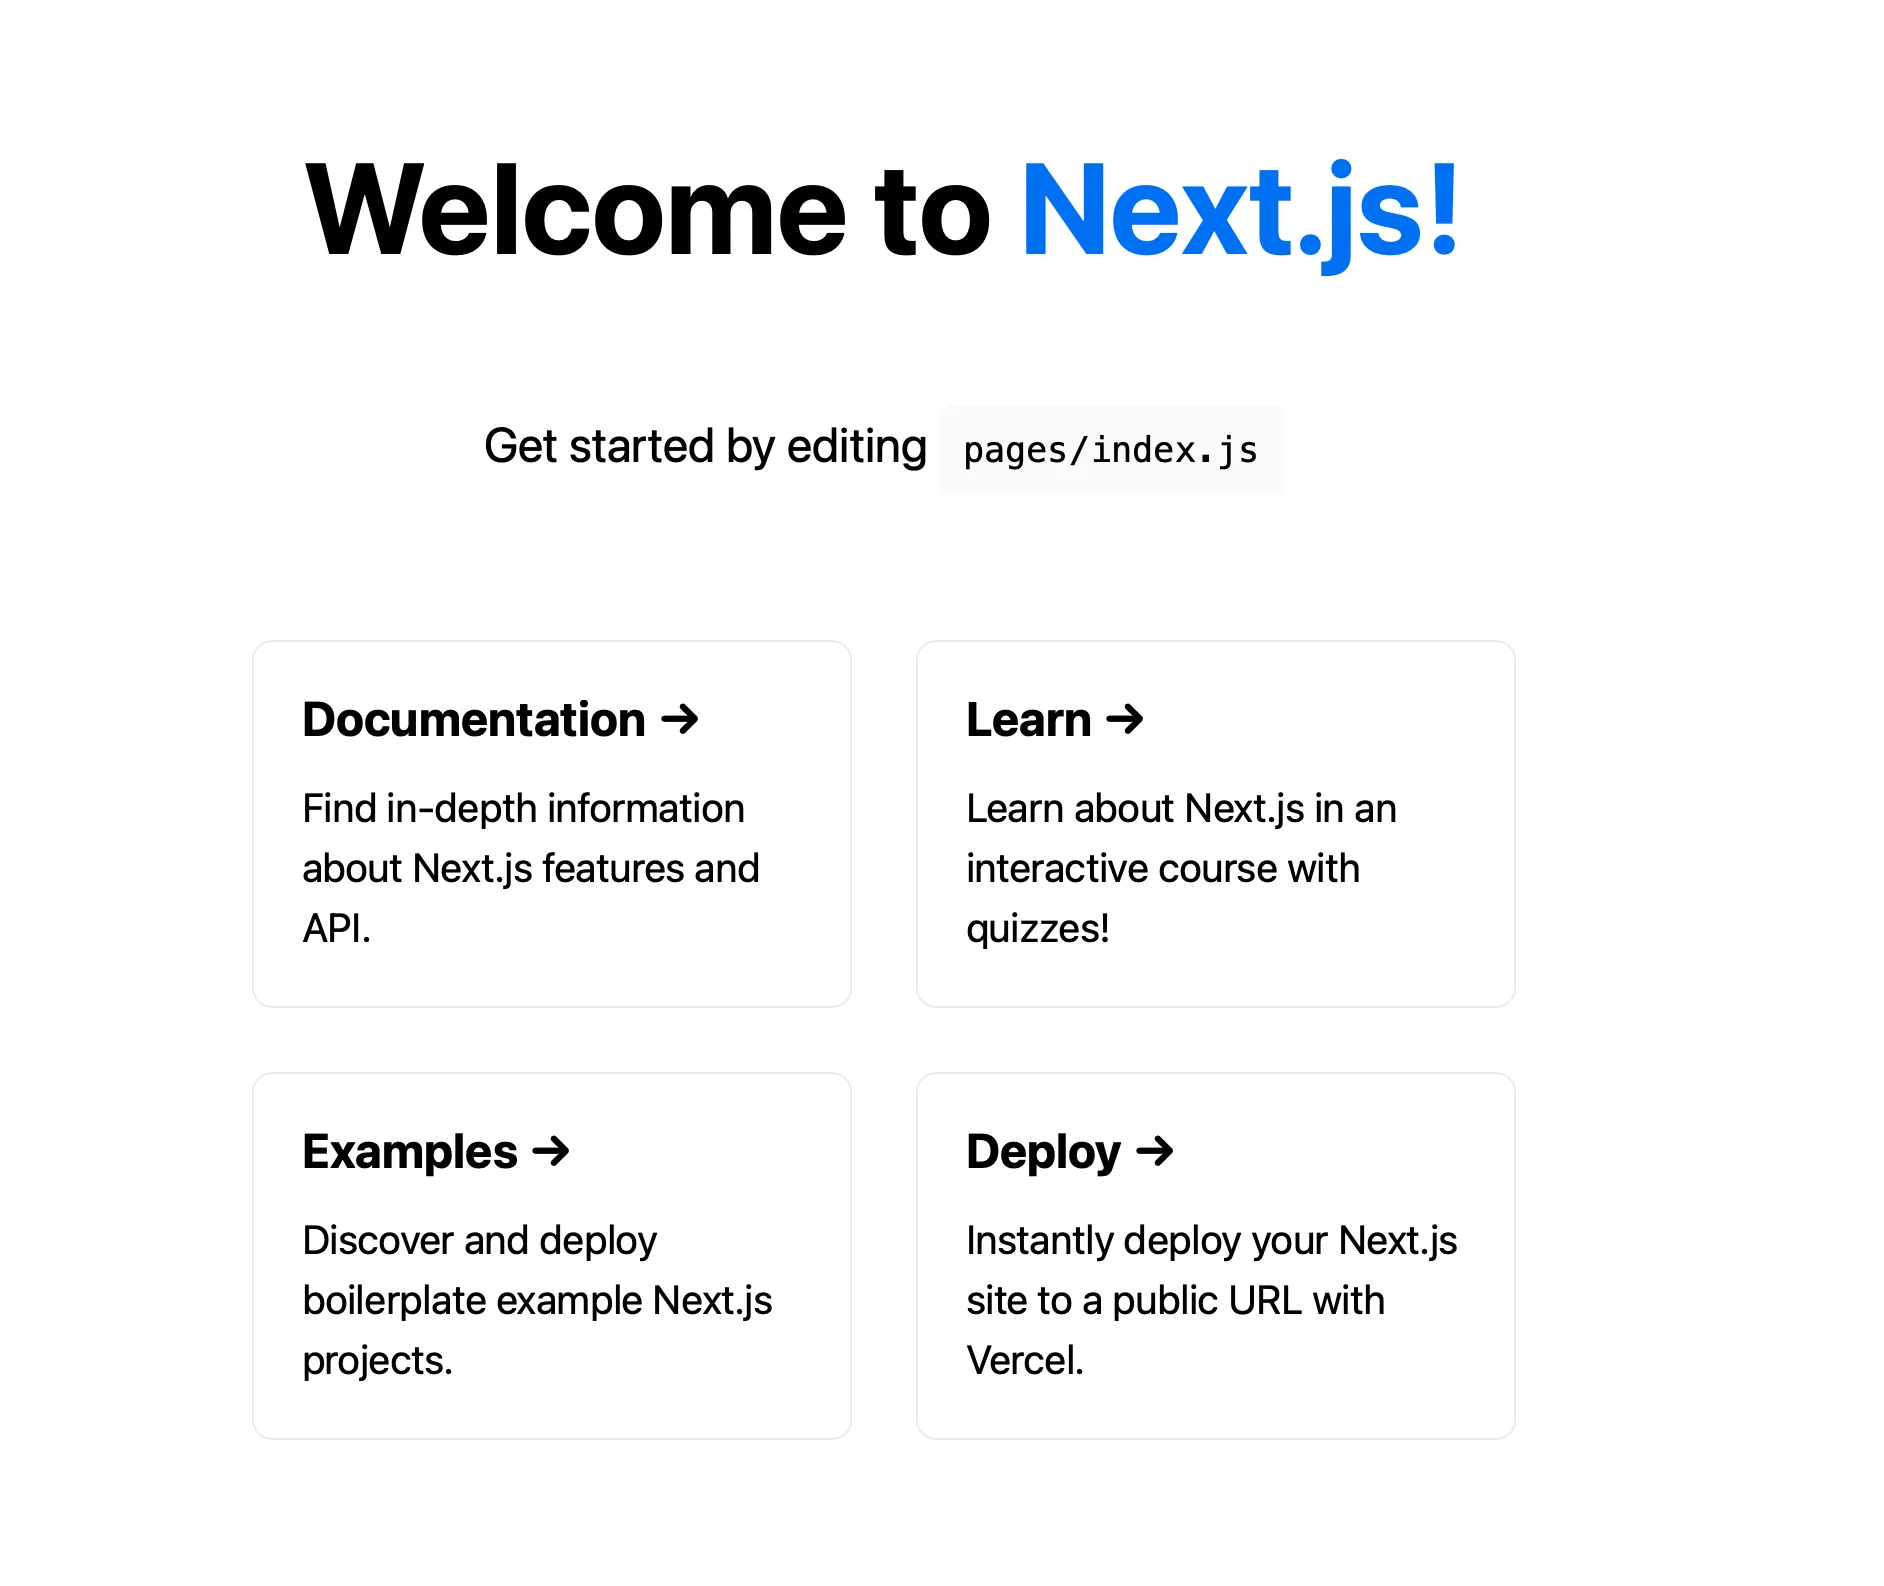
After the script has completed running, there would be a new folder created with the name quizwithsheets. Navigate into it and start the application to see the welcome screen.
cd quizwithsheets
yarn dev
This brings up the familiar start page for Next.js projects.
Backend
As we decided that the backend is going to be a google sheet, let us create one and populate it with some questions.
Create your sheet
Go to the Chrome browser address bar and type sheets.new to generate a new sheet. The first row will be used as metadata so provide the column names in the first row. Insert some data in the second row. My sheet currently looks like this:
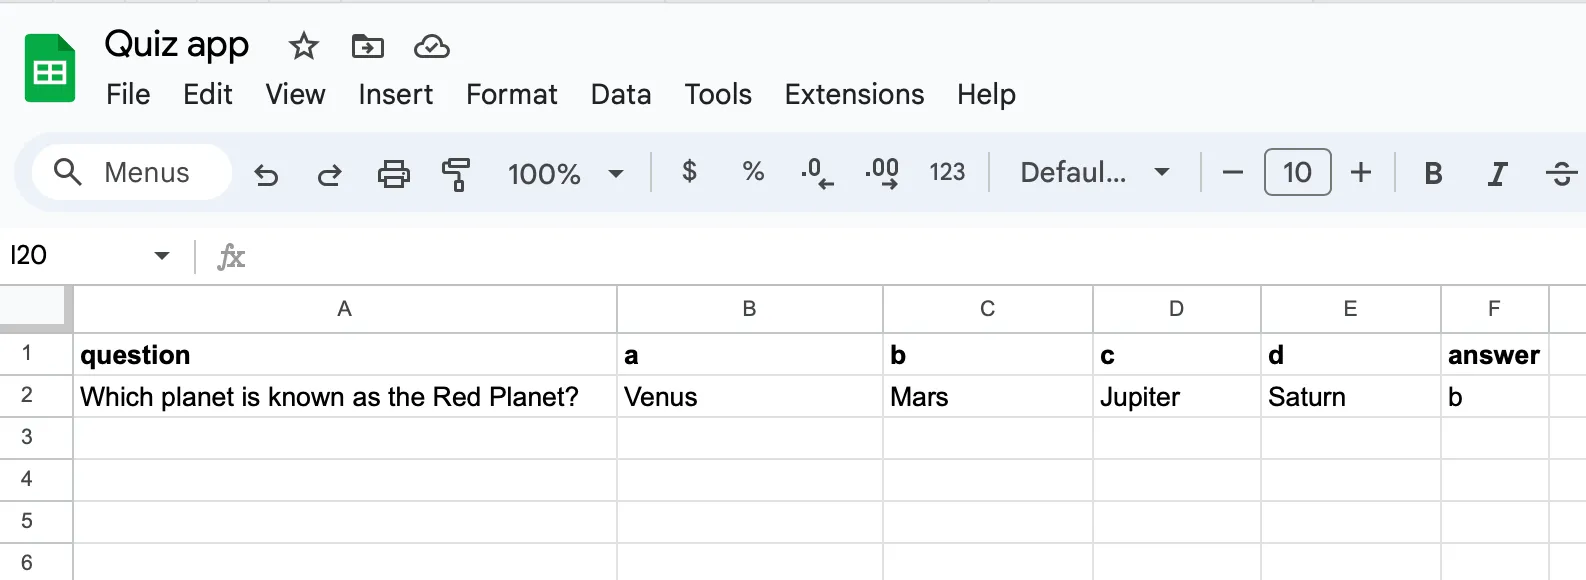
(We can add more questions later)
Linking to Sheet Best
Next, head over to Sheet Best and create an account. You will reach this screen.
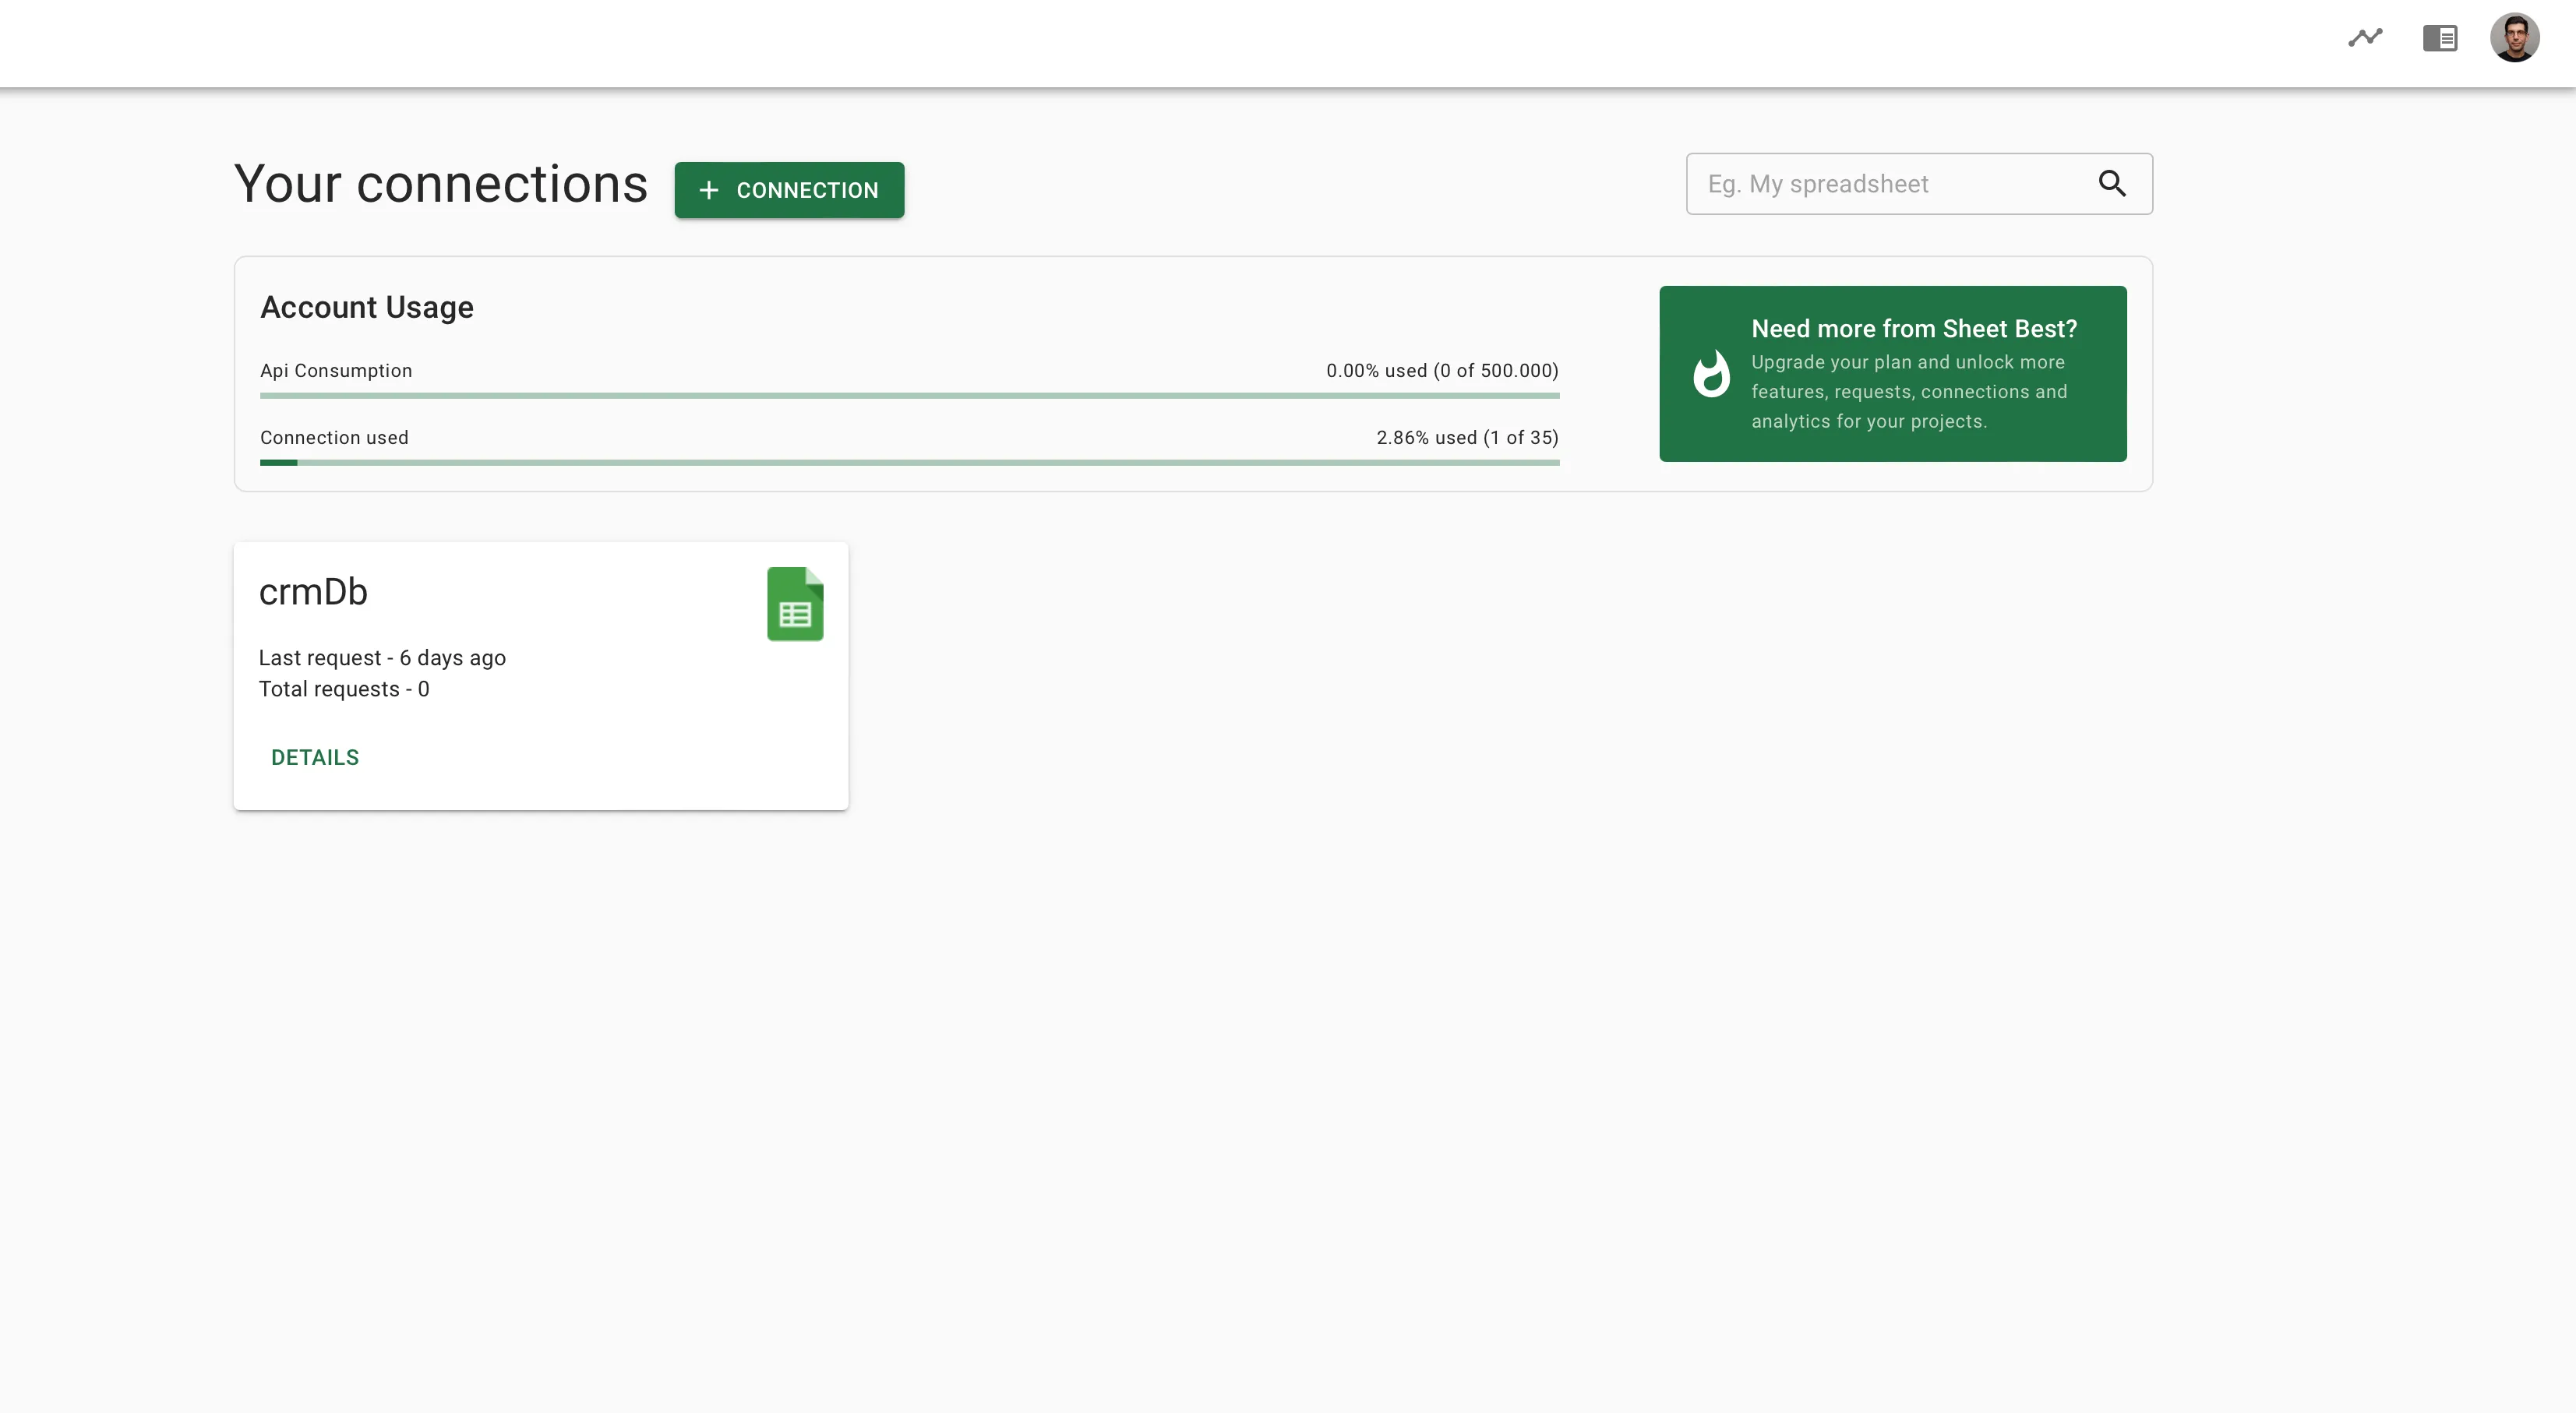
Click on the Add connection button
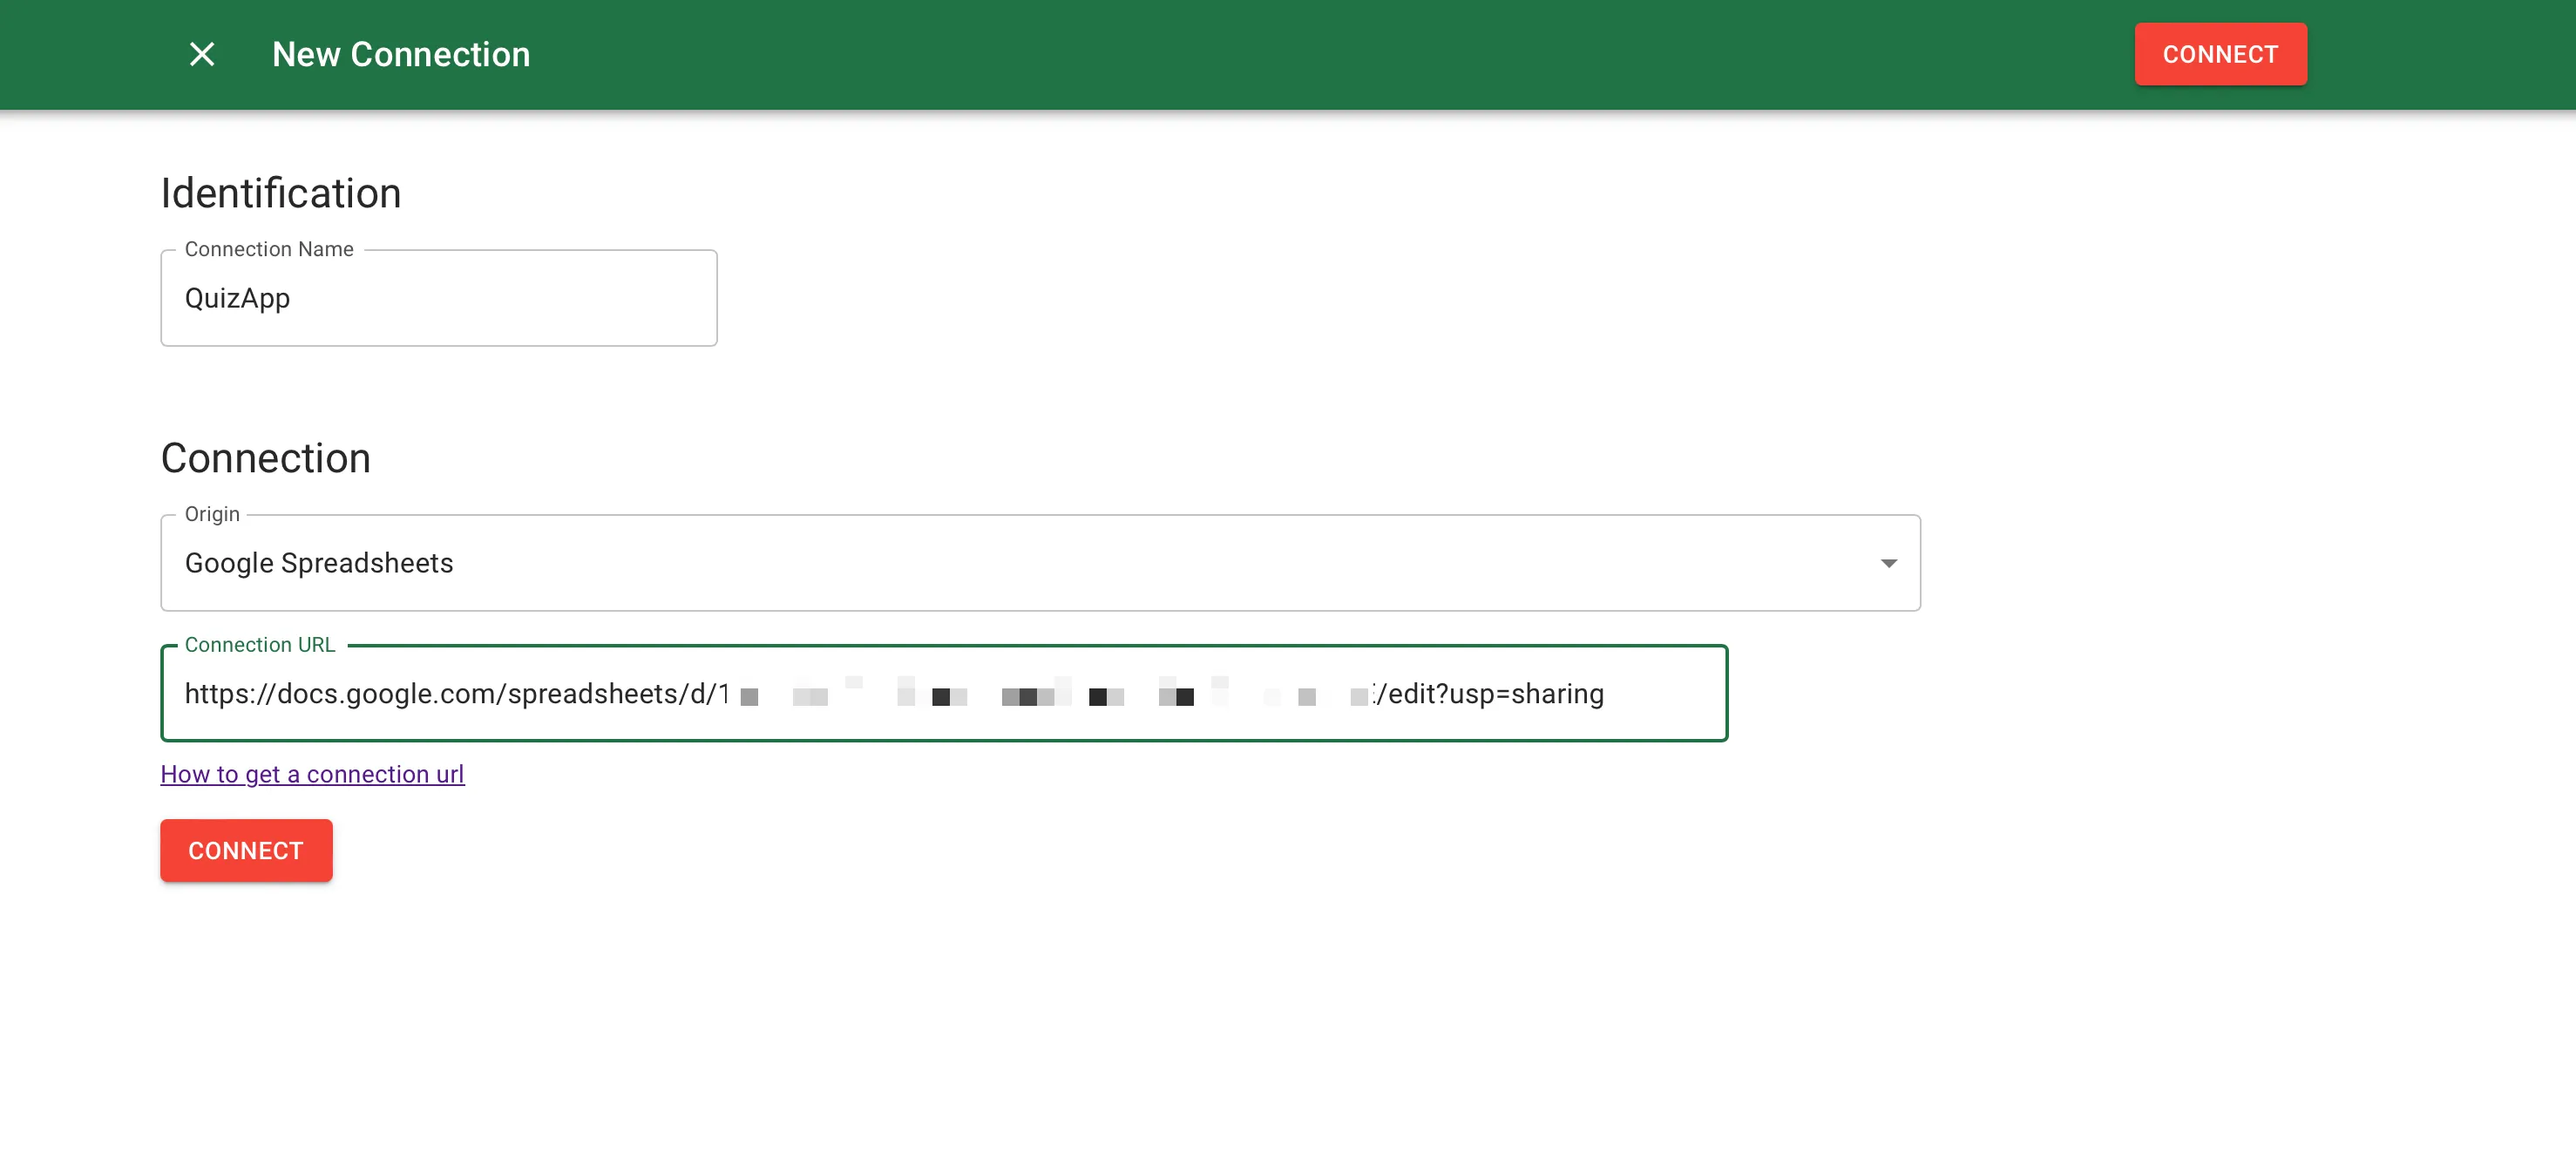
In the connection link, paste the link of the google sheet that was created in the previous step. Make sure to change the settings to Anyone on the internet with this link can view else it will not work.
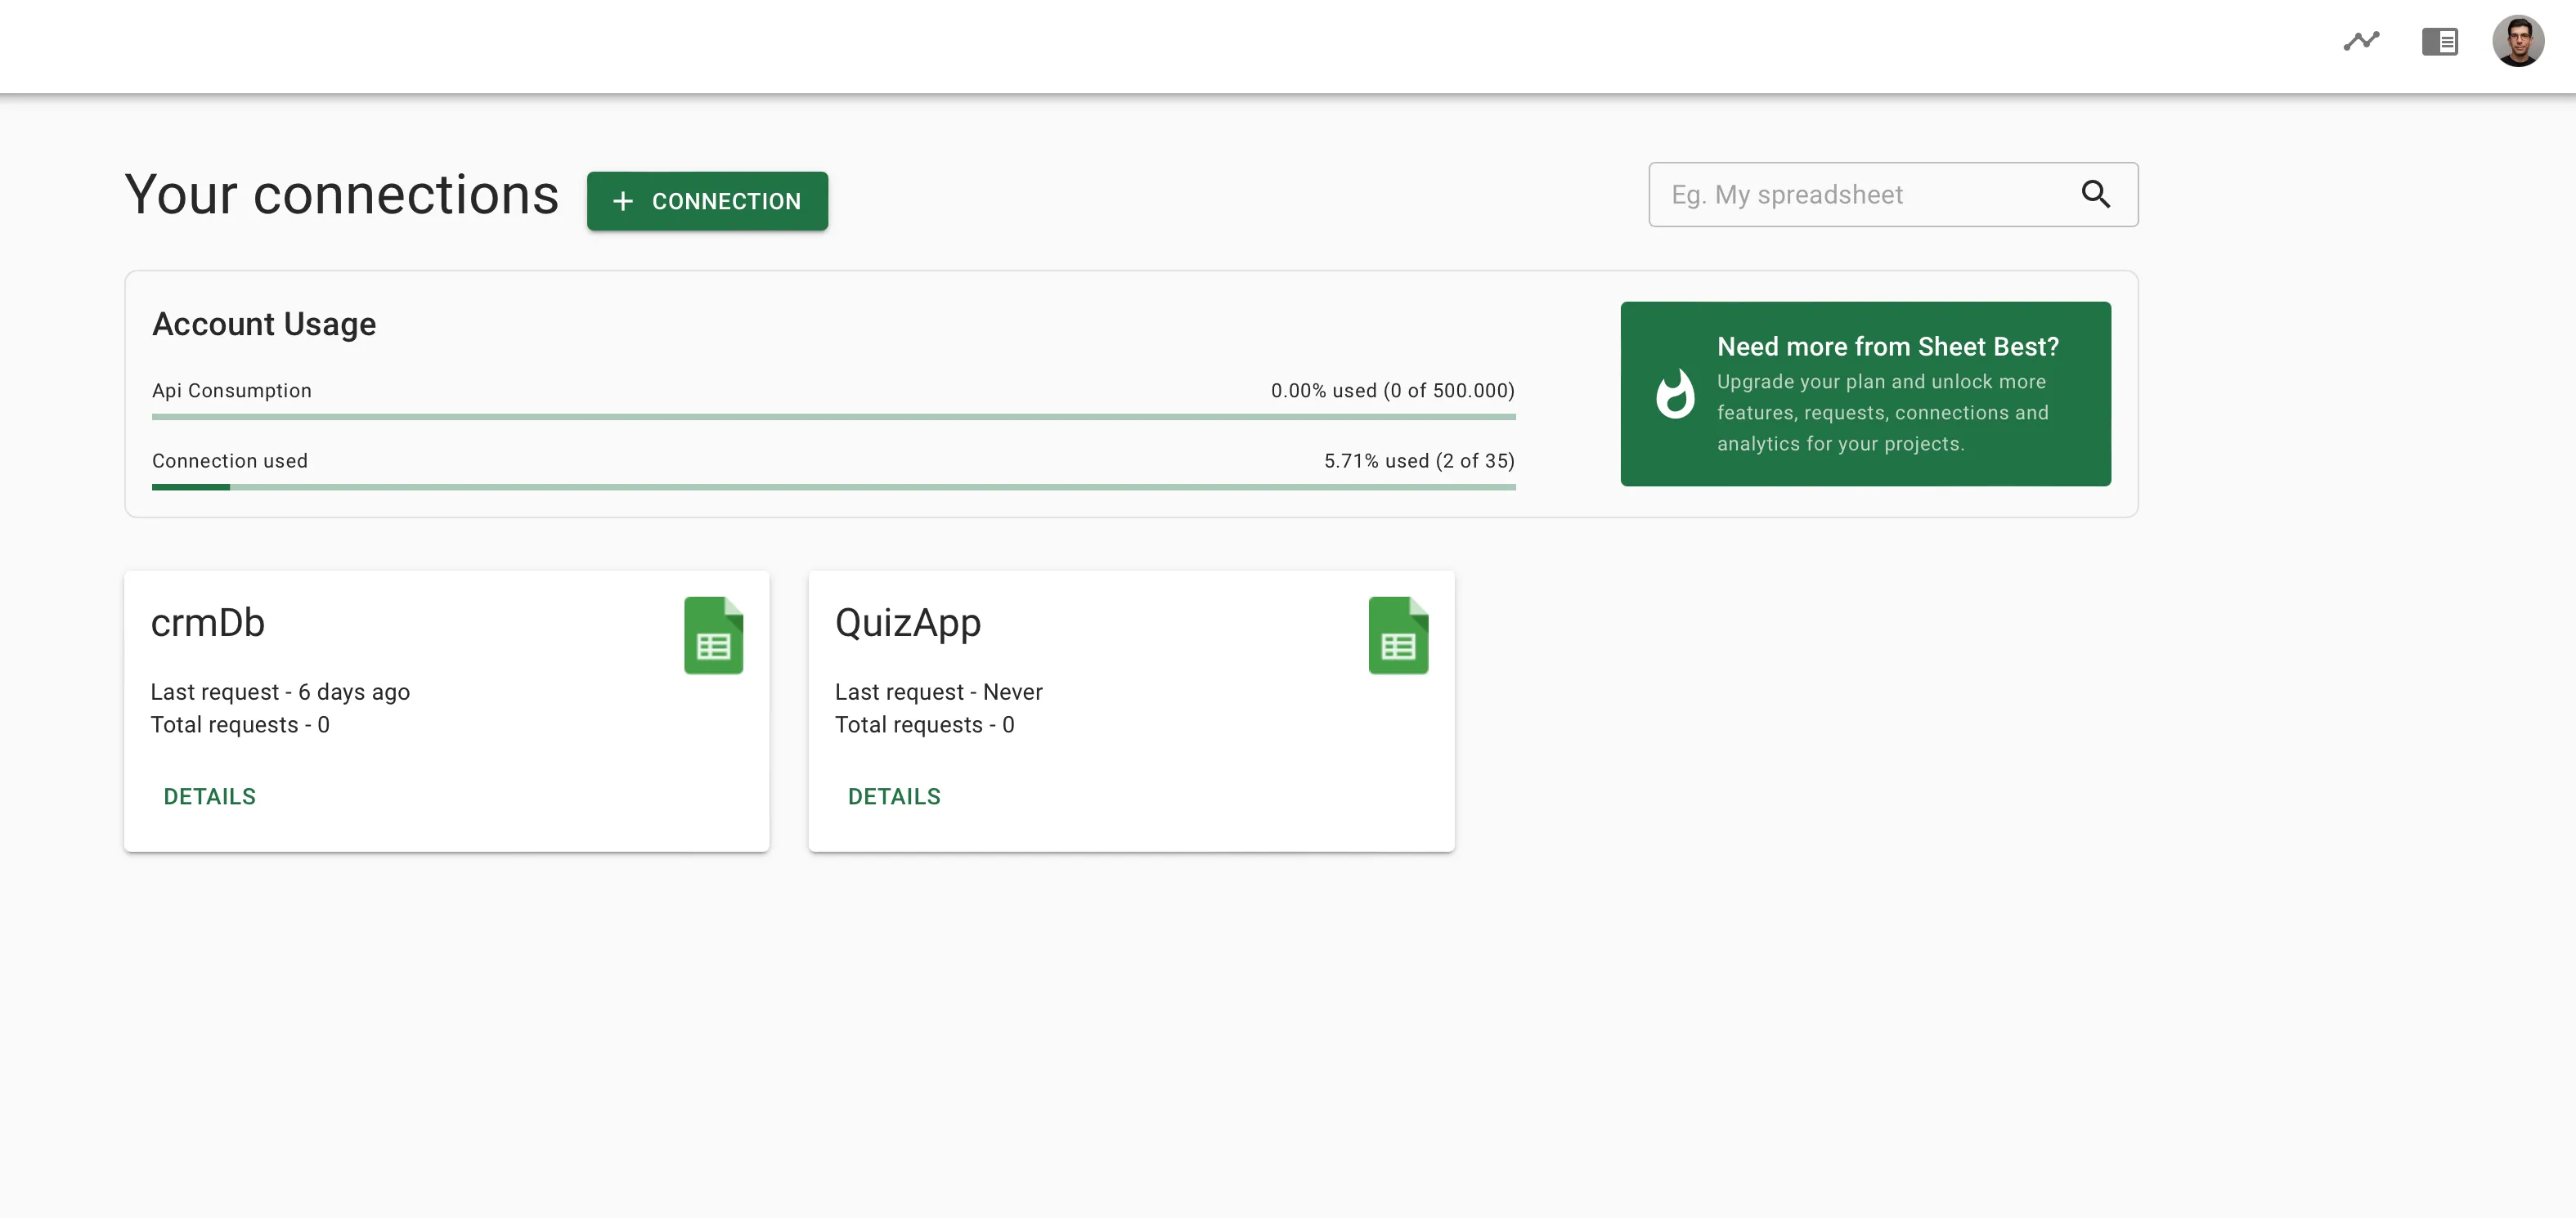
Once the connection is added, we reach this screen.
Testing the link
In order to test the API for the sheet that we linked just now, click on the DETAILS button under the QuizWithSheets connection and copy the connection URL. Paste it in the browser address bar and you should be able to see the JSON response of the details that we configured in the sheet earlier.
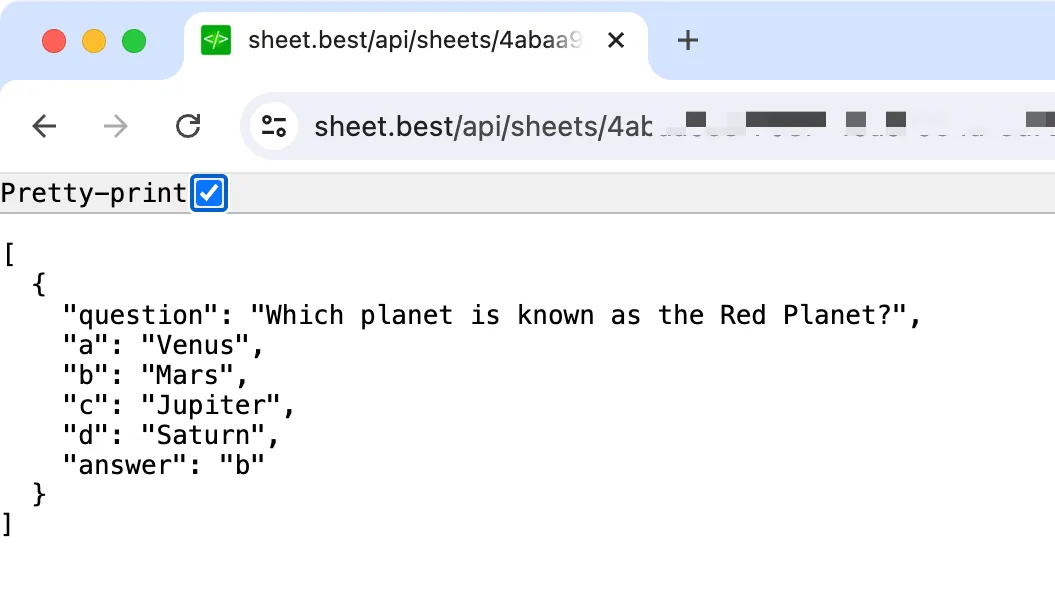
With that in place, the backend is ready. Now let us connect it to the frontend and build some nice UI.
UI library
Before integrating the API with the UI, let us install Chakra which is the UI library that we would be using for our portfolio. Here is the command for that:
yarn add @chakra-ui/react@^1 @emotion/react@^11 @emotion/styled@^11 framer-motion@^4After that installs, we need to go to pages/_app.js and wrap the root with ChakraProvider so that it looks like this
import { ChakraProvider } from "@chakra-ui/react";
import '../styles/globals.css';

function MyApp({ Component, pageProps }) {
  return (
    <ChakraProvider>
      <Component {...pageProps} />
    </ChakraProvider>
  )
}

export default MyApp
And now we’re all set to use chakra UI in our project.
Next, we will overwrite the code in the pages/index.js using Chakra components. We replace the h1 tag with the Heading component, a tag with the Link component, and div with the Flex component, etc.
UI development
With Chakra UI integrated into the codebase, we will now try to create the quiz interface. We basically need 2 pages. The home page from where the user starts the quiz can be handled by the / route. And the questions page that displays the different questions handled by the /questions/{question_number} route.
Home page
The home page is a simple one with a heading, a small description, and a button that prompts the user to start the quiz which looks something like this:
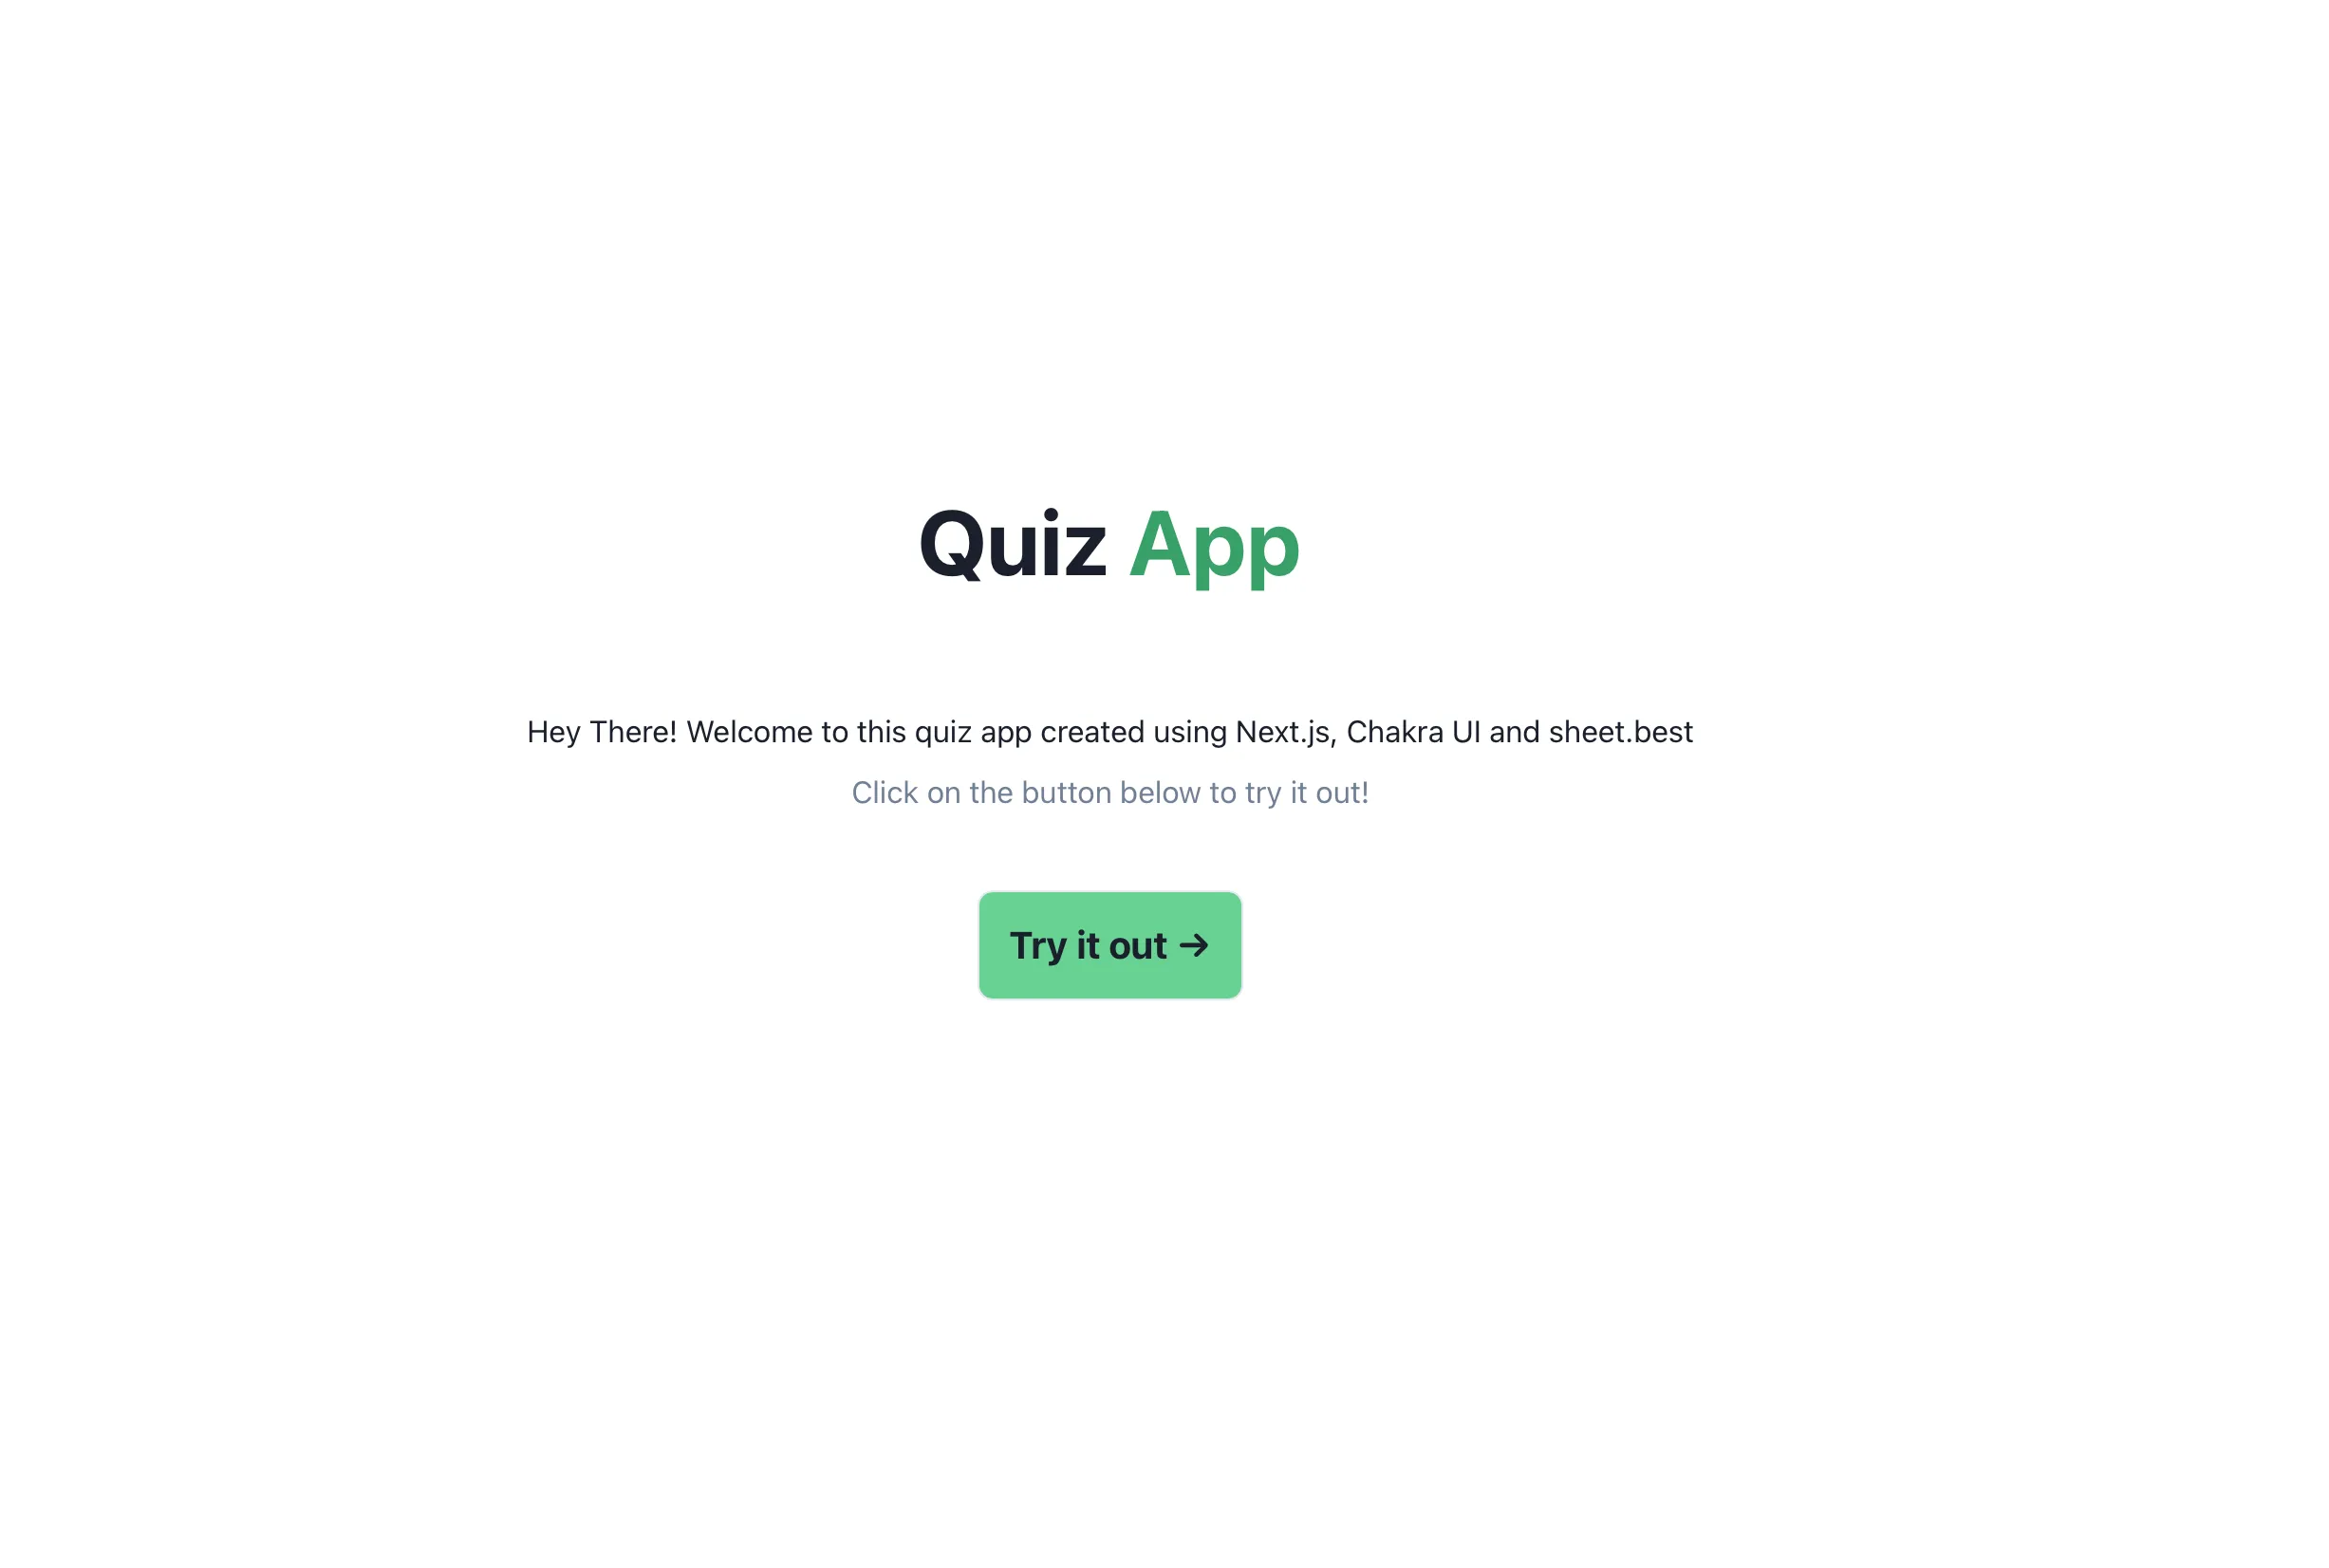
This can be acheived by tweaking the JSX code in the pages/index.js file like so:
import Head from 'next/head'
import styles from '../styles/Home.module.css'
import { Heading, Link, Text, Box } from '@chakra-ui/react'
export default function Home() {
return (
<div>
<Head>
<title>Quiz with sheets</title>
<meta name="description" content="quiz with sheets" />
<link rel="icon" href="/favicon.ico" />
</Head>
<main className={styles.main}>
<Heading size="2xl" mb={6}>
Quiz <Link href="/questions/1" color="green.500">App</Link>
</Heading>
<Text px="10%" textAlign="center" mt={10}>
Hey There! Welcome to this quiz app created using Next.js, Chakra UI and Sheet Best
</Text>
<Text px="10%" textAlign="center" mt={2} color="gray.500">
Click on the button below to try it out!
</Text>
<Box as="a" href="/questions/0" p={4} m={4} borderWidth={1} rounded="lg" mt={10} bg="green.300">
<Heading as="h3" size="md" >Try it out →</Heading>
</Box>
</main>
</div>
)
}Question page
We will now build a basic question page that displays a question along with 4 options and buttons to navigate between the questions. That page would handle the /questions/{number} route and hence we will create the file as /pages/questions/[qid].js. Here’s how that piece of code looks like:
export default function Home({question}) {
const [chosen, setChosen] = useState('');
const [background, setBackground] = useState({a: '', b: '', c: '', d: ''});
const data = {
question: "The 'OS' computer abbreviation usually means?",
a: "Order Significance",
b: "Open Software",
c: "Operating System",
d: "Optical Sensor",
answer: "c"
};
function onOptionClicked(option) {
if (!chosen) {
if (option == data.answer) {
setBackground({...background, ...{[option]: 'green.100'}})
} else {
setBackground({...background, ...{[data.answer]: 'green.100', [option]: 'red.100'}})
}
setChosen(option);
}
}
return (
<div>
<Head>
<title>Quiz with sheets</title>
<meta name="description" content="quiz with sheets" />
<link rel="icon" href="/favicon.ico" />
</Head>
<Flex direction="column" align="center" mt={20}>
<Heading size="2xl" mb={6} color="black.500">
Question {Number(questionNumber) + 1}
</Heading>
<Text px="10%" textAlign="center">
{data.question}
</Text>
<Flex direction="column" flexWrap="wrap" alignItems="center" justifyContent="center" mt={10} w="100%">
<Box as="button" p={4} mb={4} borderWidth={1} rounded="lg" w={['80%', '50%']} bg={background['a']} onClick={() => onOptionClicked('a')} cursor="pointer">
<Heading size="sm" textAlign="center">{data.a}</Heading>
</Box>
<Box as="button" p={4} mb={4} borderWidth={1} rounded="lg" w={['80%', '50%']} bg={background['b']} onClick={() => onOptionClicked('b')} cursor="pointer">
<Heading size="sm" textAlign="center">{data.b}</Heading>
</Box>
<Box as="button" p={4} mb={4} borderWidth={1} rounded="lg" w={['80%', '50%']} bg={background['c']} onClick={() => onOptionClicked('c')} cursor="pointer">
<Heading size="sm" textAlign="center">{data.c}</Heading>
</Box>
<Box as="button" p={4} mb={4} borderWidth={1} rounded="lg" w={['80%', '50%']} bg={background['d']} onClick={() => onOptionClicked('d')} cursor="pointer">
<Heading size="sm" textAlign="center">{data.d}</Heading>
</Box>
</Flex>
<Flex direction="row" flexWrap="wrap" alignItems="center" justifyContent="space-between" mt={10} w="100%" pl={[10, 40]} pr={[10, 40]}>
{questionNumber > 0 && <Box as="a" p={4} mb={4} borderWidth={1} rounded="lg" cursor="pointer" onClick={onPrevClicked}>
<Heading as="h3" size="md" textAlign="center">←</Heading>
</Box>}
{questionNumber < totalQuestions - 1 && <Box as="a" p={4} mb={4} borderWidth={1} rounded="lg" cursor="pointer" onClick={onNextClicked}>
<Heading as="h3" size="md" textAlign="center">→</Heading>
</Box>}
</Flex>
</Flex>
</div>
)
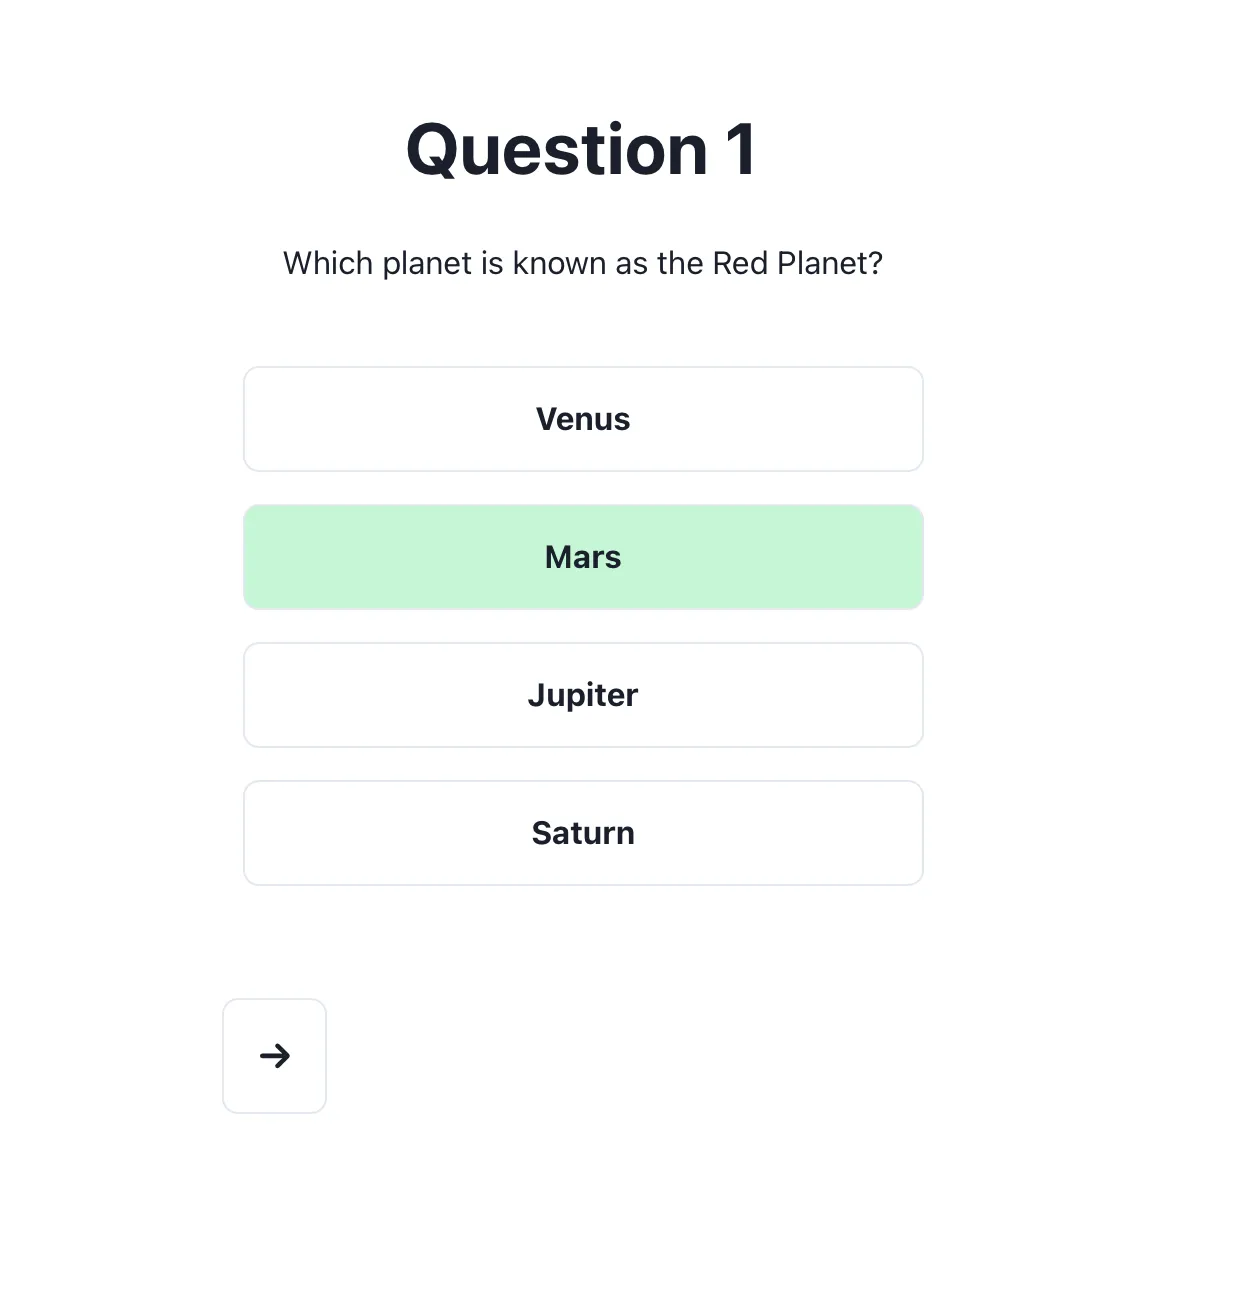
}Notice the logic that is written on any of the option-click, the onOptionClicked function, which highlights the correct answer in green and the wrong answer (if any) in red.
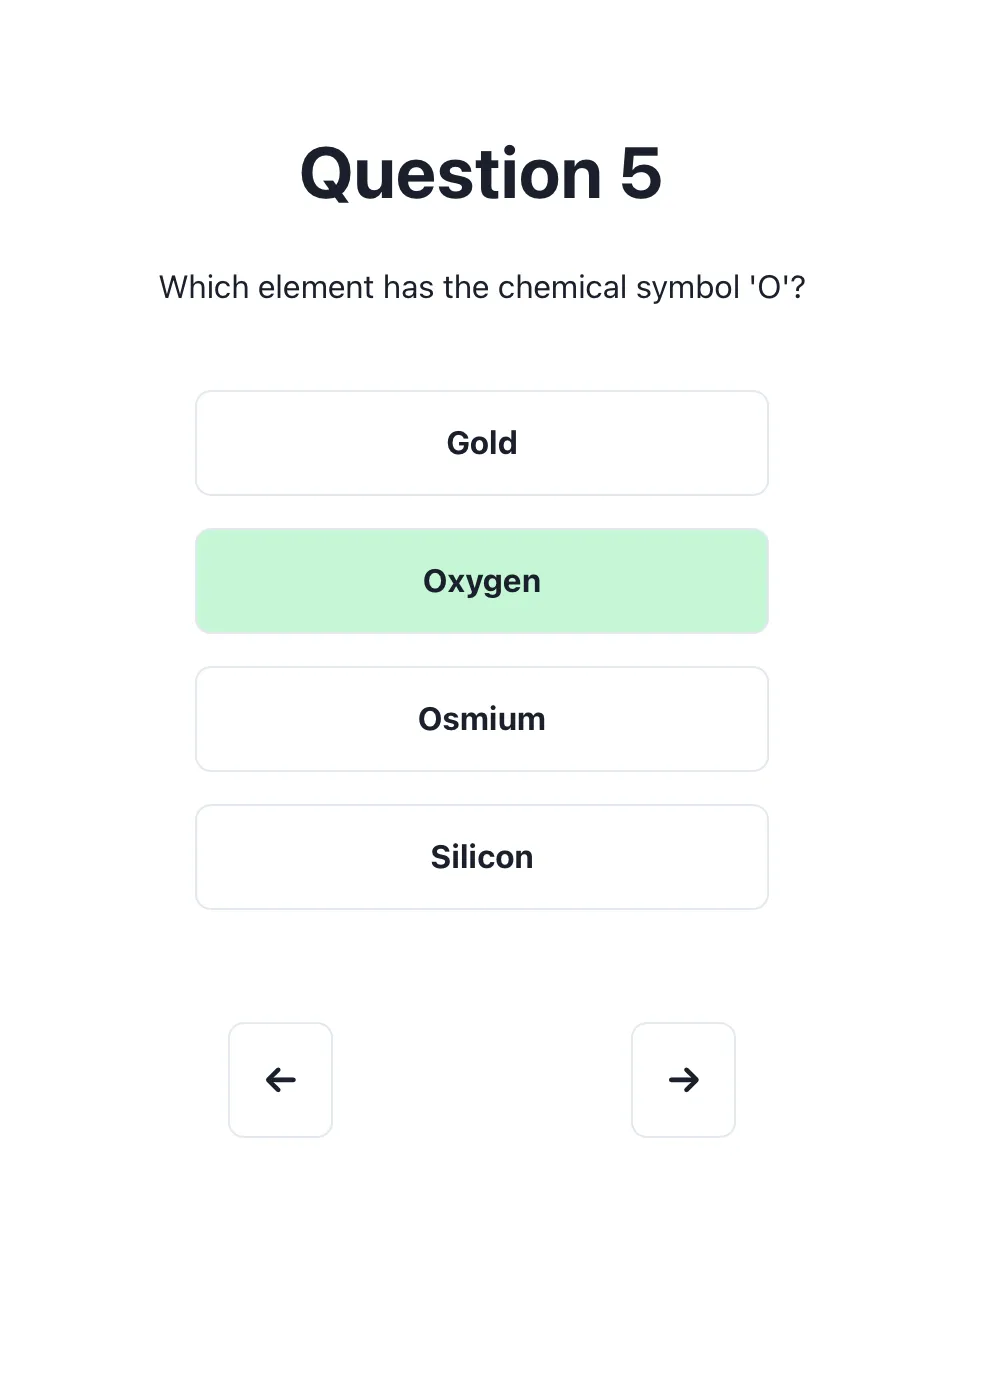
Also, notice that the question is hardcoded in the component as of now which would later come from the backend. Also, the previous and next buttons are just dummy for now and do not function. Here’s what that UI looks like, after choosing the correct answer:
API Integration
Next, we will integrate the sheets API that we earlier created with the UI application. For this, we will be using the getServerSideProps() method provided by Next.js. we will make a call to fetch all the questions and then send the correct one out of those to the UI component based on the question number in the route. Here’s the code for that:
export async function getServerSideProps(context) {
  let result;

  const { qid } = context.query;
  const res = await fetch(`/api/sheets/YOUR_SHEET_ID`);
  const data = await res.json()

  if (qid && data[qid]) {
    result = data[qid];
  }

  return {
    props: {
      data: result,
      questionNumber: qid,
      totalQuestions: data.length,
      key: qid
    }
  }
}
We now see that based on the URL, and the question number that is present in the URL, the correct question comes up on the UI.
Finishing touches
We will now code the functionality of the previous/next buttons for which we will use the questionNumber and the totalQuestions props that we returned from the getServerSideProps method. These are the two handlers with the corner case scenario (to be placed inside the Home function):
const router = useRouter();

function onPrevClicked() {
  const newQuestion = Number(questionNumber) - 1;
  if (newQuestion >= 0) {
    router.push(`/questions/${newQuestion}`);
  }
}

function onNextClicked() {
  const newQuestion = Number(questionNumber) + 1;
  if (newQuestion < Number(totalQuestions)) {
    router.push(`/questions/${newQuestion}`);
  }
}
And that’s about it. Our quiz application is now ready to test out.
Demo
Upon visiting the localhost page, we reach the application home. And from there, we can browse around the quiz and answer it. Here’s a quick walkthrough on a mobile viewport in its full glory:
Right now, the right arrow does not allow us to go beyond the 5th question as that is the current limit. We will add a new question in the Google Sheet and refresh the page to see that the right arrow appears as a new question was added:
And that’s the end-to-end quiz application functioning with Google sheet as its backend. Check out this repo, clone it and play around with it by providing your own questions sheets URL.
See you in the next one!