Build a Lightweight CRM using Sheet Best

CRM or Customer Relationship Management applications allow any company to keep track of their potential customers, generate leads, contact the customers with offers, etc. In today’s article, we will try to build a lightweight version of a CRM application that would provide the functionality to capture the lead for a particular product and then search over the customer base using several properties. It would not be nearly as feature-packed as a full-fledged CRM but would be something that a small shop could use to drive business in the nascent stage. Let’s get started!
The stack
The front-end framework we would use for the application would be Next.js. It is a clear choice because it is a modern, React-based framework with essential features out of the box like server-side rendering, image optimization, and file-system-based routing, to name a few.
Also, we would be using Chakra-UI for the UI components, which provides beautiful-looking react components and the ability to apply CSS properties via component props.
Finally, coming to the backend, we want something flexible yet lightweight. As we are trying to build a database of potential customers, wouldn’t it be great if it was so accessible that most of the tasks like searching, filtering, etc., would be done on the database rather than the application? For that reason and many others, we would be using a Google sheet as a database for our CRM. Yes, you heard it right. The Google sheet that functions as our database captures customers/leads information adding these as rows in the Google sheet. It’s that straightforward. To interact with the Google sheet programmatically (fetch all the entries/add new ones), we would be using Sheet Best. It will act as an intermediary between our app and the Google sheet and make editing the Sheet easy to fire ReST API calls. With that decided, let us get the project bootstrapped!
The setup
Frontend
The frontend setup is as easy as creating a new Next.js repo using the create-next-app command. Here’s how that works:
- Navigate to a folder where you wish to start the project.
- Run the following command
npx create-next-app crmwithsheetsAnd Next.js would take care of the rest.
Completing the script creates the new folder crmwithsheets. Navigate into it and start the application to see the welcome screen.
cd crmwithsheets
yarn dev
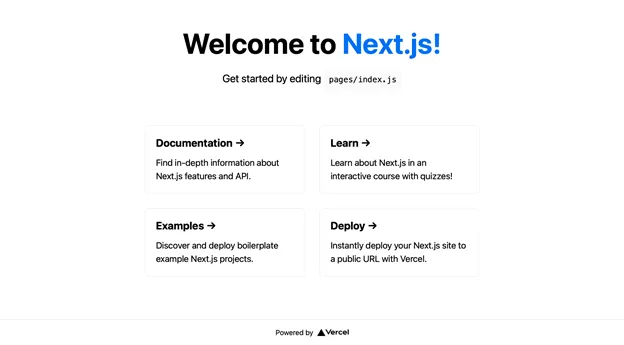
This command brings up the familiar start page for Next.js projects.
Backend
As we decided that the backend will be a google sheet, let us create one and populate it with some questions.
Create your sheet
Go to the Chrome browser address bar and type sheet.new to generate a new sheet. Provide the column names in the first row, which will serve as our metadata. In the first row, we enter the details we would like to capture as a part of this CRM. Then, insert some data in the second row. My sheet currently looks like this:

That looks good enough to get started
Linking to Sheet Best
Next, head over to Sheet Best and create an account. You will reach this screen.
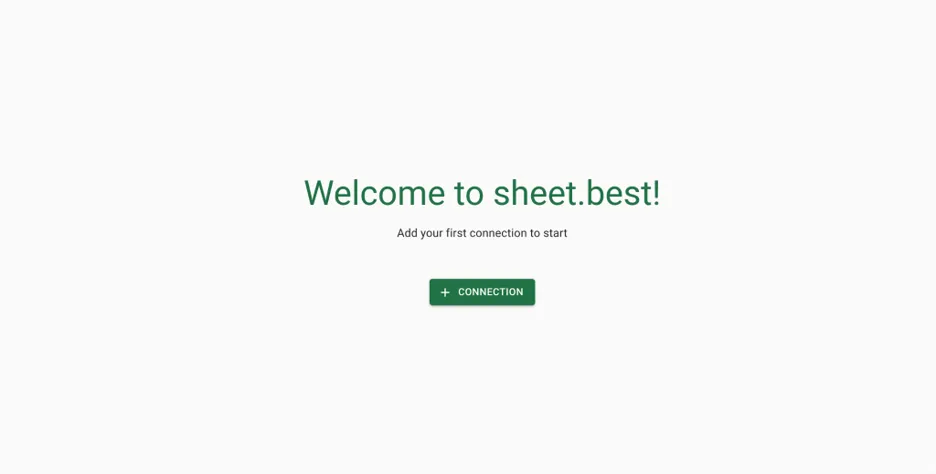
Click on the +connection button
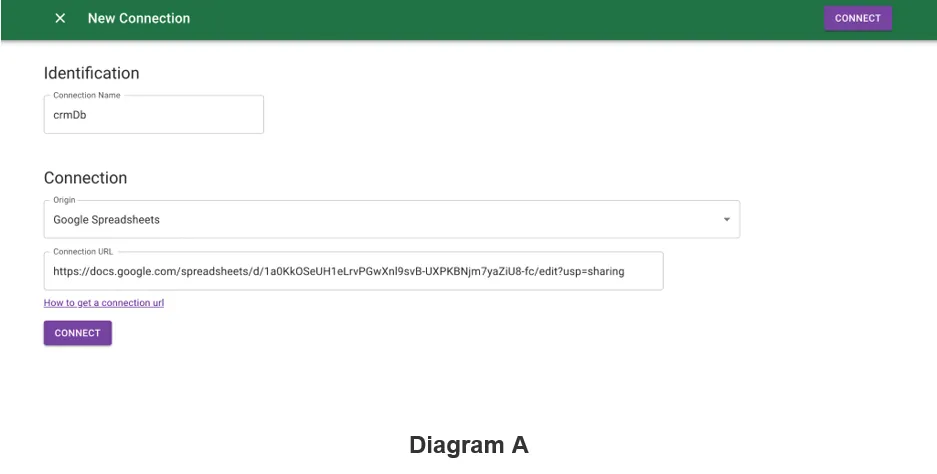
In the connection link of Sheet Best (Diagram A), paste the Google sheet link created in Diagram B. Make sure to change the settings to ‘Anyone on the internet with this link can view’ (Diagram B); or else it will not work. Also, from the dropdown that appears while sharing the sheet, make sure to select ‘Editor’ so that we would be able to write to this sheet via APIs.
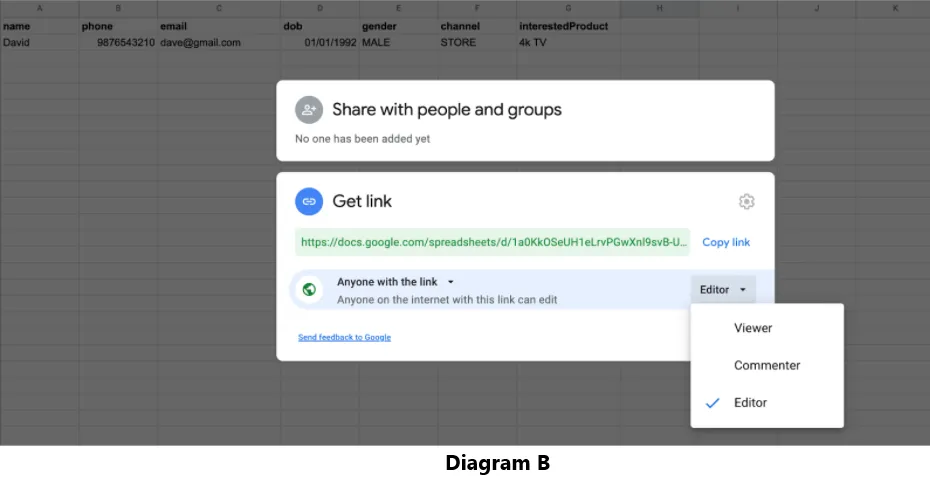
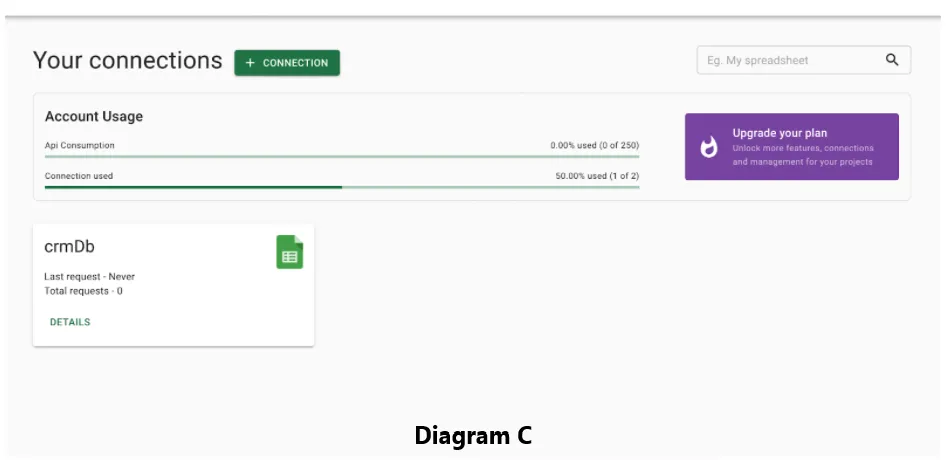
Once the connection is added, we reach this screen.
Testing the link
To test the API for the sheet we linked just now, click on the DETAILS button under the crmDb (Diagram C) connection and copy the connection URL. Paste it in the browser address bar, and you should be able to see the JSON response of the details that we configured in the sheet earlier. In this case, we see the single customer details that we configured earlier.
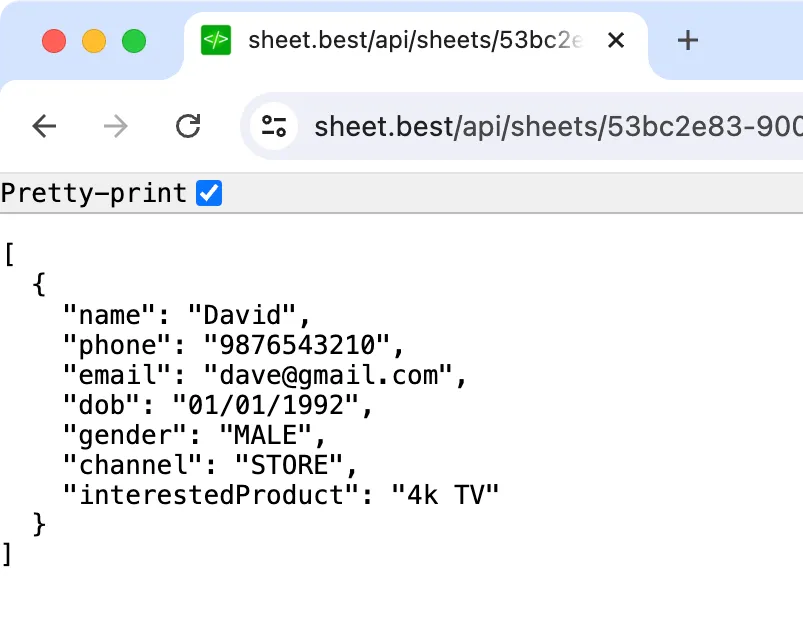
With that in place, the backend is ready. Now let us connect it to the frontend and build some nice UI.
UI library
Before integrating the API with the UI, let us install Chakra, the UI library that we would use for our CRM application. Here is the command for that:
yarn add @chakra-ui/react@^1 @emotion/react@^11 @emotion/styled@^11 framer-motion@^4After installing Chakra, we need to go to pages/_app.js and wrap the root with ChakraProvider so that it looks like this
import { ChakraProvider } from "@chakra-ui/react";
import '../styles/globals.css';

function MyApp({ Component, pageProps }) {
  return (
    <ChakraProvider>
      <Component {...pageProps} />
    </ChakraProvider>
  )
}

export default MyApp
And now we’re all set to use chakra UI in our project.
Next, we will overwrite the code in the pages/index.js using Chakra components. We replace the h1 tag with the Heading component, a tag with the Link component, and div with the Flex component, etc.
UI development
With Chakra UI integrated into the codebase, we will create the CRM interface. First, we will make the main page that prompts users to enter the customer data using the form page.
Main page
The main page is just a simple modification of the default Next.js page wherein we replace some of the default elements with Chakra UI elements. Using Heading, Link, and Box in place of h1, a,and div, respectively. Diagram D shows how the final result looks like:
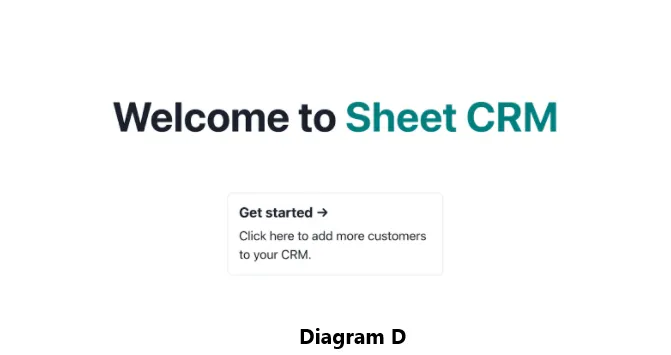
Here is the code in the pages/index.js file that achieves the above result:
import { Heading, Flex, Box, Text, Link } from '@chakra-ui/react'
import styles from '../styles/Home.module.css'
import Head from 'next/head'
export default function Home() {
return (
<div className={styles.container}>
<Head>
<title>CRM with sheet</title>
<meta name="description" content="Sheet CRM" />
<link rel="icon" href="/favicon.ico" />
</Head>
<main className={styles.main}>
<Heading size="3xl" mb={6} textAlign="center">
Welcome to <Link href="https://nextjs.org" color="teal">Sheet CRM</Link>
</Heading>
<Flex flexWrap="wrap" alignItems="center" justifyContent="center" maxW="800" mt={10}>
<Box as="a" p={4} m={4} borderWidth={1} rounded="lg" flexBasis={['auto', "70%"]} href="/add">
<Heading as="h3" size="md" mb="2">Get started →</Heading>
<Text fontSize="lg">Click here to add more customers to your CRM.</Text>
</Box>
</Flex>
</main>
<footer className={styles.footer}>
Created with 🖤 by @kokaneka
</footer>
</div>
)
}Form page
Next, we need to build a page that captures the customers’ data. Notice that in the previous code, clicking on the Box takes us to the /add route. Hence, we will create a new file in the pages directory to handle that route.
The UI on that page would be basic enough with a title and a few form fields that capture the information sent to the Sheet.
Here’s how we would be designing it:
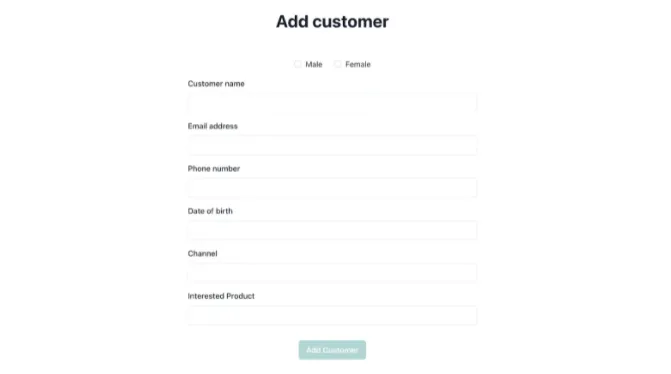
Below is the code for that helps us get that UI.
import { useState, useEffect } from 'react';
import { Heading, Flex, RadioGroup, HStack, Radio, FormControl, FormLabel, Input, Button } from '@chakra-ui/react'
import { useToast } from '@chakra-ui/react'
import styles from '../styles/Home.module.css'
import Head from 'next/head'
import { useRouter } from 'next/navigation'


export default function Home() {
  let initialState = {
    name: '', email: '', phone: '', dob: '', channel: '', interestedProduct: ''
  }
  const [formState, setFormState] = useState(initialState)

  function onFormChange(e) {
    if (e === 'MALE' || e === 'FEMALE') {
      setFormState({...formState, gender: e});
    } else {
      setFormState({...formState, [e.target.id]: e.target.value.trim()});
    }
  }

  function isFormFilled() {
    let show = true;
    for (let val of Object.values(formState)) {
      if (val === '') {
        show = false;
      }
    }

    return show;
  }

  async function onClickAdd() {
    // TBD
  }

  return (
    <div >
      <Head>
        <title>Add customer</title>
        <meta name="description" content="Add customer" />
        <link rel="icon" href="/favicon.ico" />
      </Head>

      <main className={styles.main}>
        <Heading size="xl" mb={4} textAlign="center">
          Add customer
        </Heading>
        <Flex flexWrap="wrap" alignItems="center" justifyContent="center" maxW="600" mt={10}>
          <RadioGroup mb="4" onChange={onFormChange}>
            <HStack spacing='24px'>
              <Radio value='MALE'>Male</Radio>
              <Radio value='FEMALE'>Female</Radio>
            </HStack>
          </RadioGroup>
          <FormControl id='name' mb="4">
            <FormLabel>Customer name</FormLabel>
            <Input type='text' value={formState.name} onChange={onFormChange}/>
          </FormControl>
          <FormControl id='email' mb="4">
            <FormLabel>Email address</FormLabel>
            <Input type='email' value={formState.email} onChange={onFormChange}/>
          </FormControl>
          <FormControl id='phone' mb="4">
            <FormLabel>Phone number</FormLabel>
            <Input type='phone' value={formState.phone} onChange={onFormChange}/>
          </FormControl>
          <FormControl id='dob' mb="4">
            <FormLabel>Date of birth</FormLabel>
            <Input type='text' value={formState.dob} onChange={onFormChange}/>
          </FormControl>
          <FormControl id='channel' mb="4">
            <FormLabel>Channel</FormLabel>
            <Input type='text' value={formState.channel} onChange={onFormChange} />
          </FormControl>
          <FormControl id='interestedProduct' mb="4">
            <FormLabel>Interested Product</FormLabel>
            <Input type='text' value={formState.interestedProduct} onChange={onFormChange}/>
          </FormControl>
          <Button mt={4} colorScheme='teal' onClick={onClickAdd} disabled={!isFormFilled()}>
            Add Customer
          </Button>
        </Flex>
      </main>
    </div>
  )
}
We have also ensured that the UI is mobile-friendly as most of our users (the store staff) would use this on their phones.
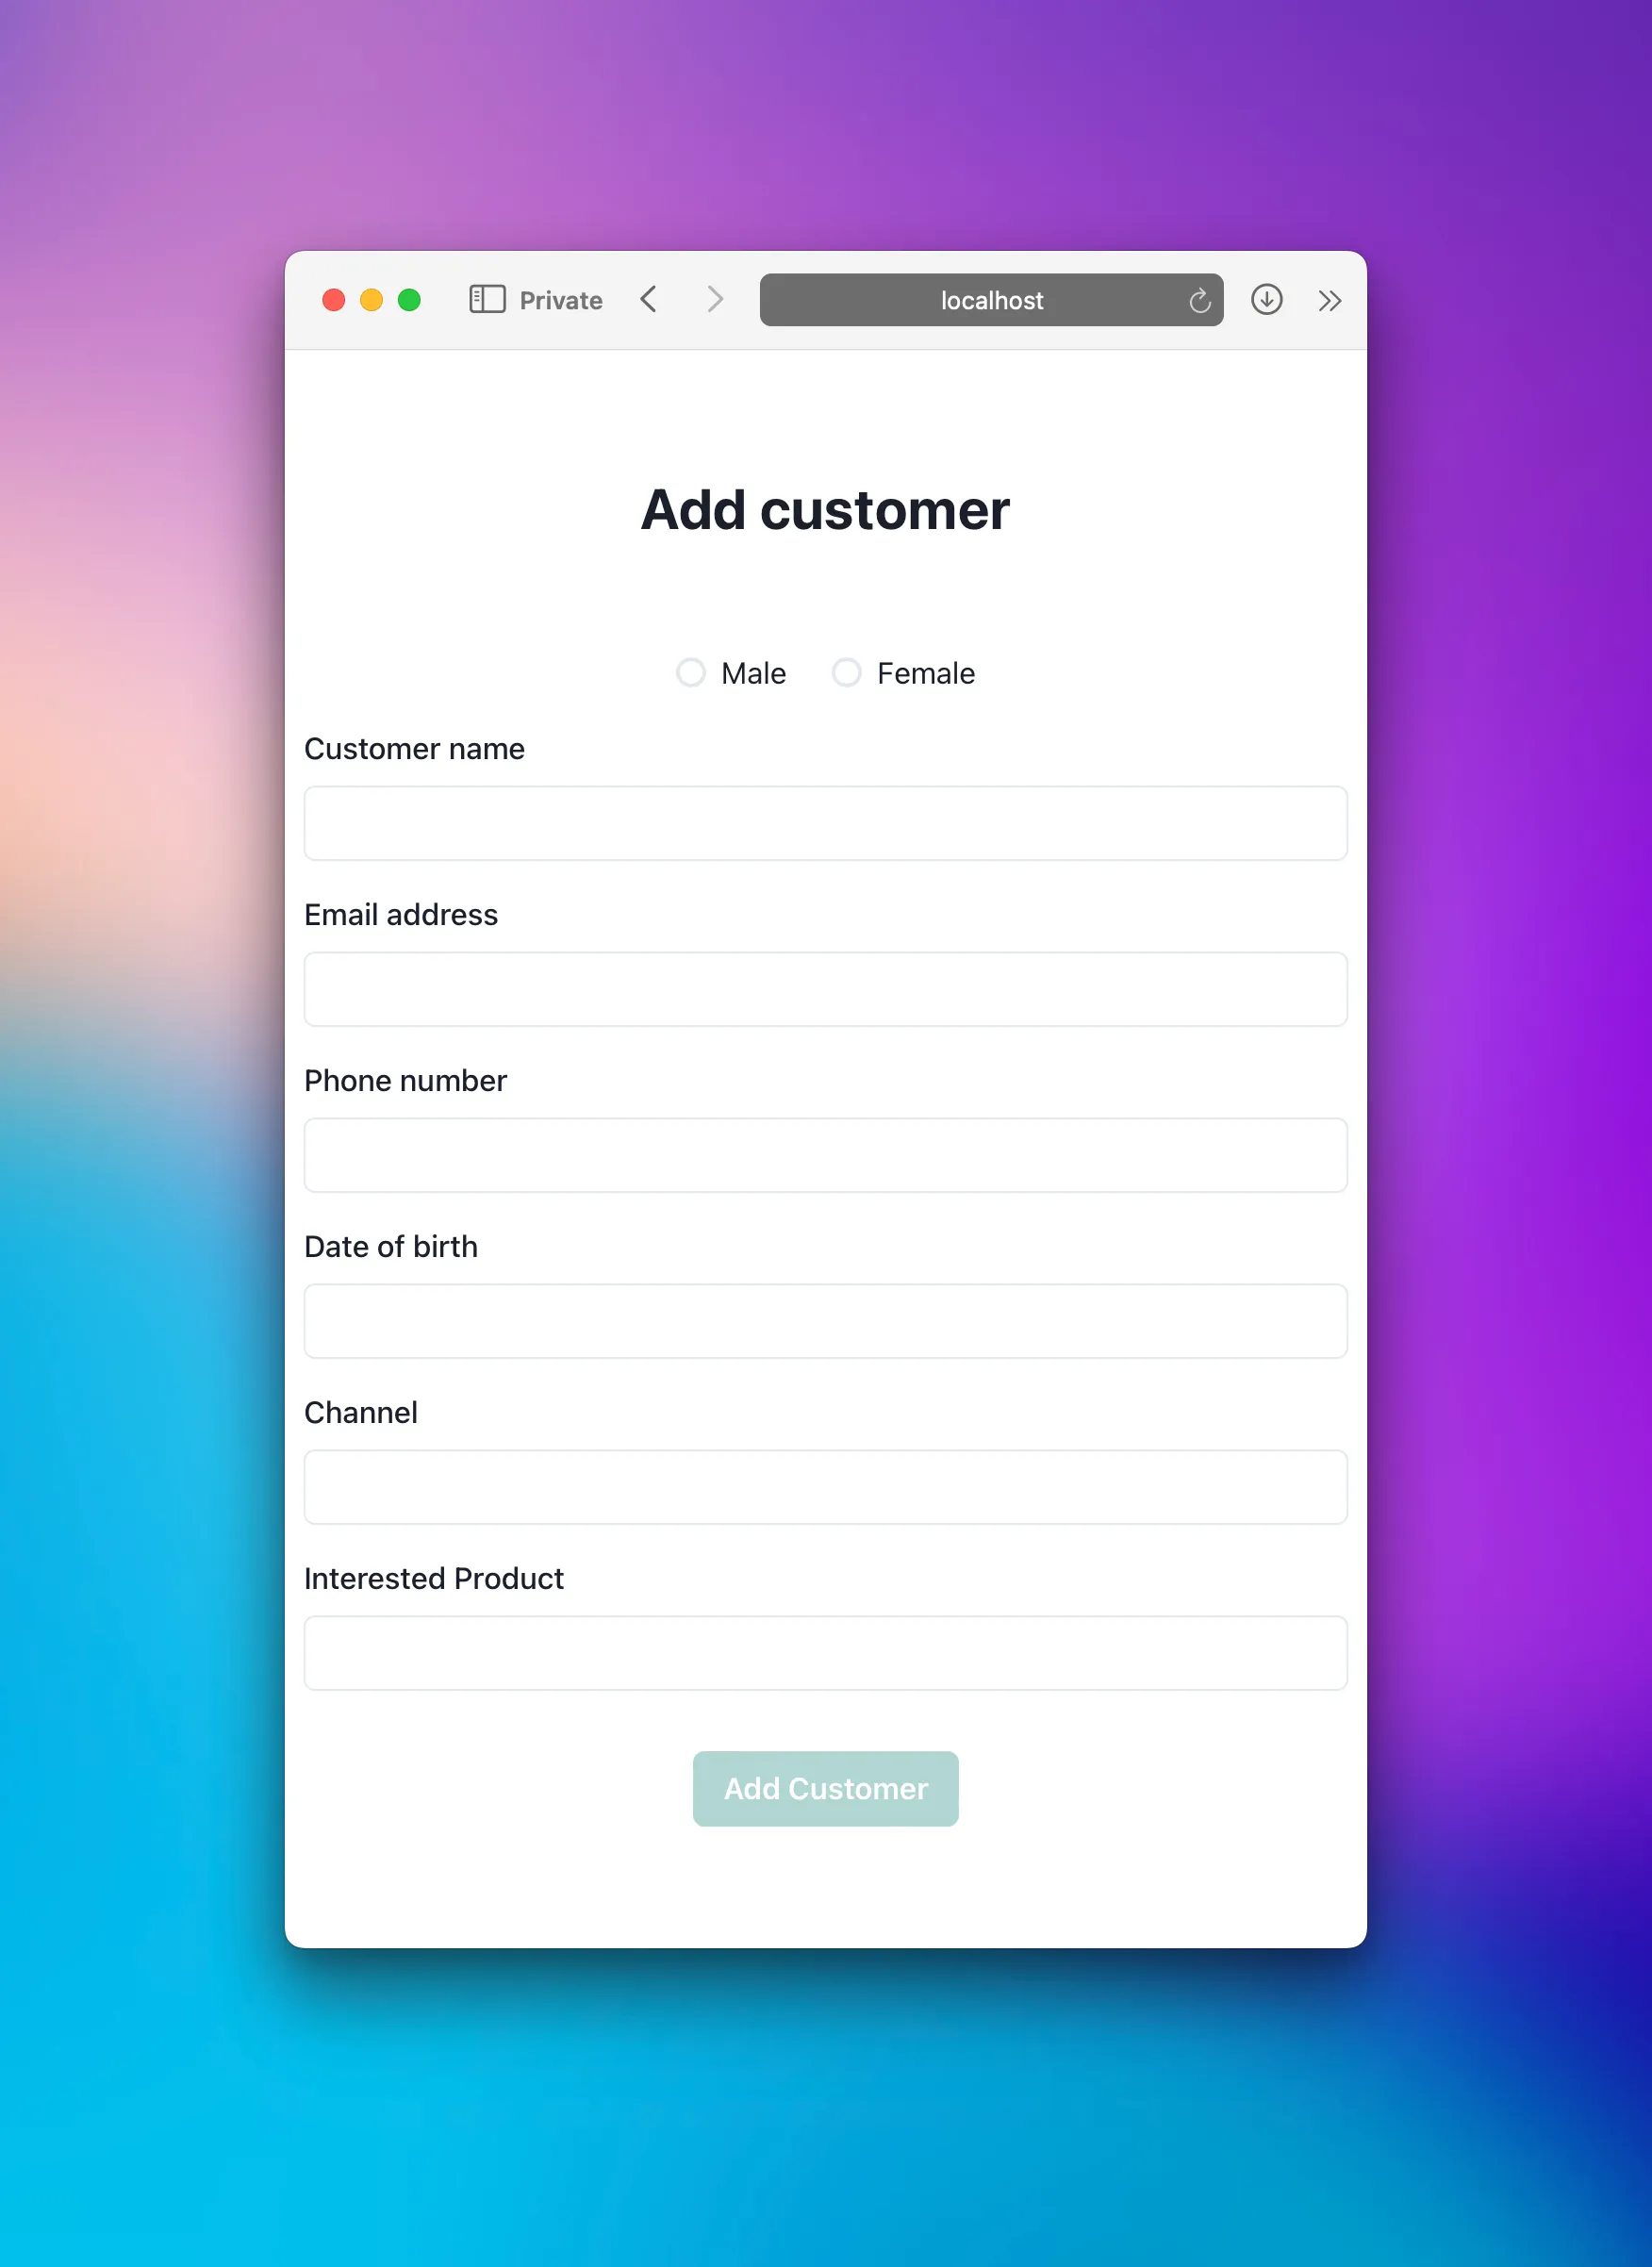
Also, notice that we are using the form elements provided by Chakra UI like FormControl, FormLabel, Input and binding them to state variables so that we have the information captured in our state. Whenever any change occurs in any of the fields, the onFormChange function gets triggered, setting the appropriate key on the state object that we maintain. At the end of it all, our state object will function as the single source of truth.
Also, notice that another function named isFormFilled checks whether each field has some information captured in it. With the help of this function, the Add Customer button may be disabled in case there are still vacant fields.
API Integration
After all the above processes, what is left to do is call an API so that the information gets populated into the Google sheet created earlier.
You can achieve this by making a POST API call with the stringified JSON string as the body, thanks to Sheet Best. We can see in the code below that upon clicking on the button to add a customer; we are simply doing just that and then notifying the user based on the response code that we receive from the API.
On a successful operation, we redirect the user back to the home page.
First, add the following to the top of the file:
export function useToastHook() {
  const [state, setState] = useState(undefined);
  const toast = useToast();

  useEffect(() => {
    if (state) {
      const { message, status, title } = state;

      toast({
        title: title,
        description: message,
        status: status,
        duration: 2000,
        position: "top",
        isClosable: true,
      });
    }
  }, [state, toast]);

  return [state, setState];
}
And then replace the onClickAdd placeholder implementation from above with this (make sure to set the SHEET_URL constant accordingly):
const [state, newToast] = useToastHook()
const router = useRouter()
const SHEET_URL = 'REPLACE WITH YOUR CONNECTION URL'

async function onClickAdd() {
  let res;
  try {
    res = await fetch(SHEET_URL, {
      method: 'POST',
      headers: { 'Content-Type': 'application/json'},
      body: JSON.stringify(formState)
    });
    if(res.status === 200) {
      router.push('/');
      newToast({
        title: 'Operation successful!',
        message: 'The customer information is captured in the database.',
        status: "success" });
    }
  } catch(e) {
    newToast({
      title: 'Operation failed!',
      message: 'Error while capturing the customer information.',
      status: "error" });
  }
}
In action, we can see that all the “puzzle pieces” are put together in place. In the following video we can see that we start with an empty sheet, enter the details of a customer in the application, click the Add Customer button, and after the success notification, a row has gotten added to the sheet.
Working with the data
Now that we have captured sufficient user information, we can look at the data and perform some lightweight analytics. The best part is that we do not need to export the data anywhere else as we can use the capabilities that Google sheet inherently provides us. I have populated some more data into the sheet. And this is how it looks like currently.
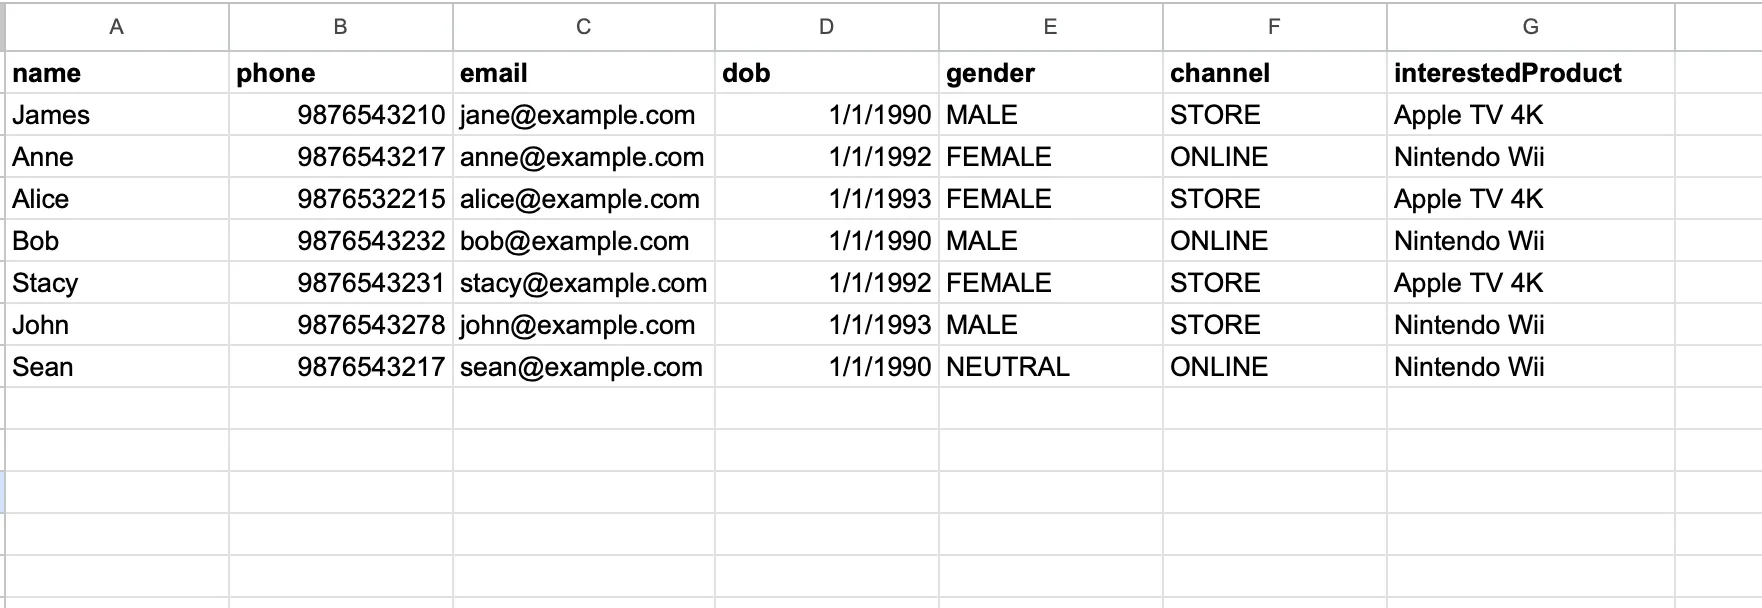
We have seven rows here. In a real-world scenario, there can even be several hundreds of rows.
We want to know the number of these leads captured at the store. We enable filtering on the channel column and filter by channel as STORE.

At some future point in time, a new stock of 4k TVs comes in, and we want to inform the prospective customers that we can do the same by filtering on the Interested Product column this time.

It is as simple as that. We can even plot complex graphs/charts by making use of Google Sheet’s or Excel’s capabilities if we want to. The possibilities are endless.
Conclusion
There you go. In this tutorial, we built a lightweight CRM app frontend so that the non-tech-savvy store staff can capture leads using their mobile phones, which directly gets captured onto our Google sheet. Post that, anyone from the management gets complete access to the customer database in the form of the sheet and can run different forms of analytics on top of it where the limit is Google Sheets’ capabilities.